The first time I camped in the winter I didn’t get much sleep. I was awake and adjusting the furnace thermostat every 30 minutes trying to get a comfortable temperature. Bleary eyed and either shivering or sweating, I vowed to upgrade to a digital thermostat instead of the cheap sliding lever the Casita came with.
It’s easy to do if you have a drill and rivet gun, which most Casita projects require. The rivets on the old thermostat were drilled out and the new thermostat went in its place. Because of the location of the wire, I couldn’t cover up one of the holes of the old rivets. I used a pair of cutting pliers to cut the rivet flush and it hasn’t bothered me.
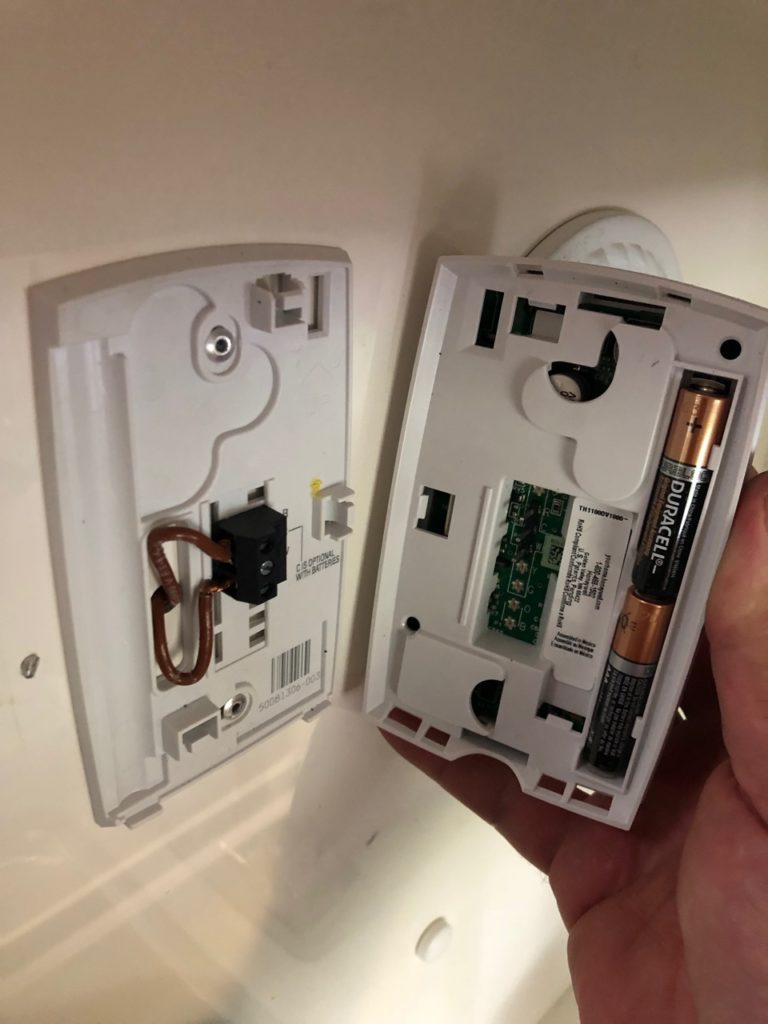
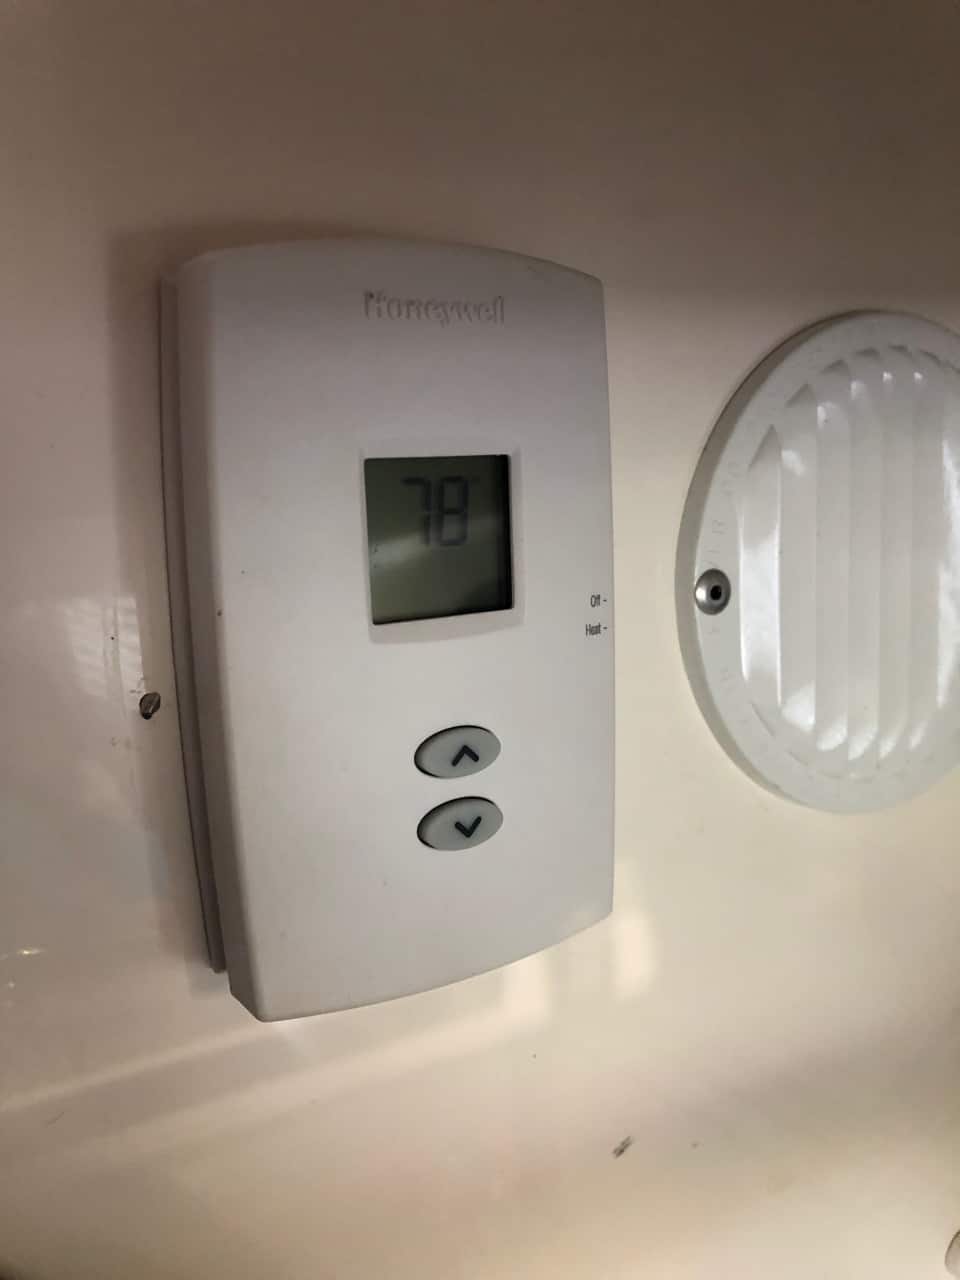
New holes were drilled for the thermostat and it was pop-riveted into place. The 2 wires were screwed into the new thermostat, and it runs on 2 AA batteries. The Honeywell thermostat also displays the current temperature which is nice. By knowing the exact inside temperature, I can make more accurate manual adjustments to my rooftop A/C too.

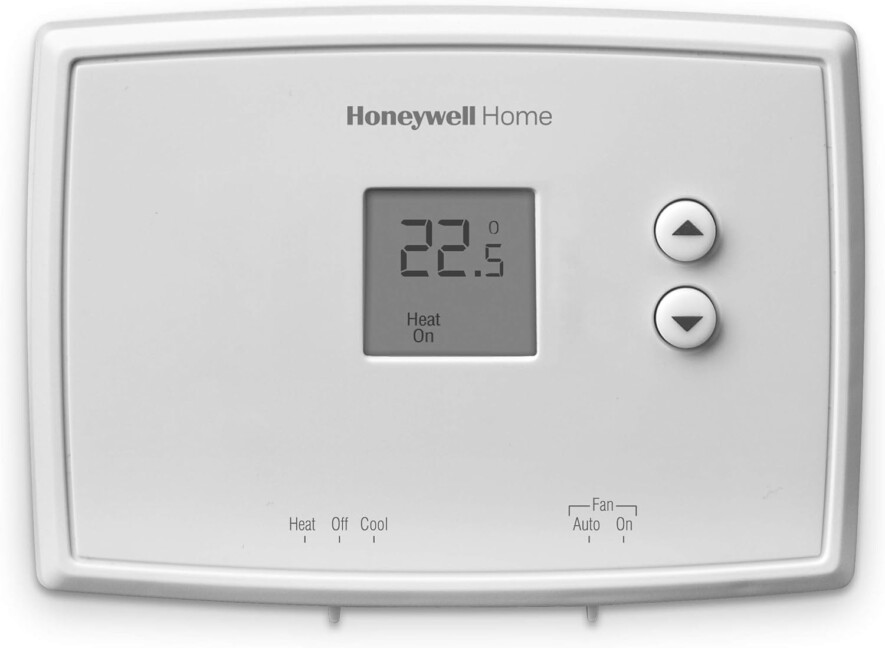
Update: I recommend the Honeywell non-programable heat-only thermostat. Its horizontal layout covers up the old rivet holes and because it’s not backlit, the batteries last for about a year.


4 comments
Very helpful. What size rivets do you typically use in a Casita?
Typically the interior items are 1/8″ aluminum- thermostat, smoke detector, propane detector, etc. The exterior uses 3/16″ aluminum in various lengths depending on location. High strength areas uses tri-fold “exploder” rivets such as the awning brackets, hot water heater, etc. Little House Customs sells a nice little rivet kit that covers everything in a Casita.
Which honeywell heat only thermostat will work with my Casita? Most say they are 24 volt.
Any of them. The 24v models work just fine switching 12v.