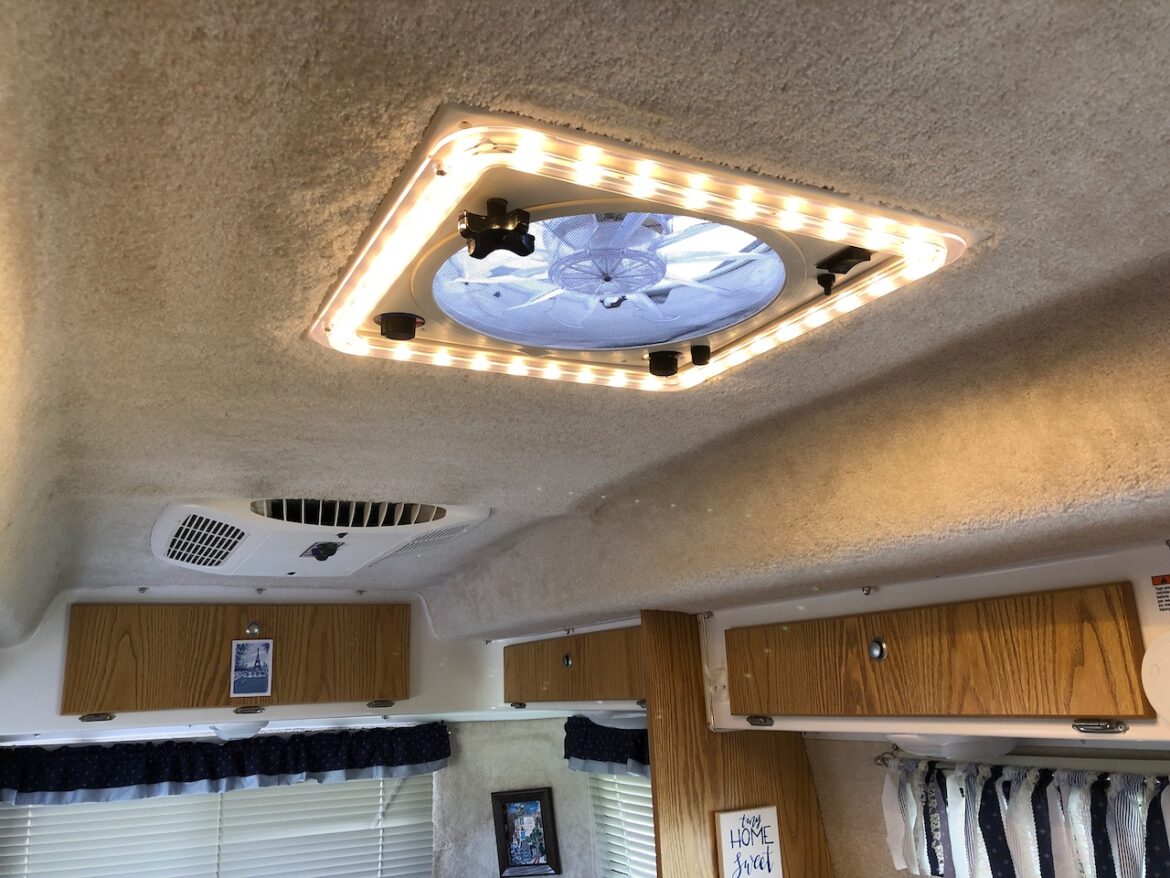
This LED chandelier adds lots of needed light in a Casita. This made in-the-USA light by Heng’s is available in 4 versions: clear or frosted lens and “cool” or “warm” light. The warm clear is my favorite as the “cool” is a little harsh on the eyes. It works on both the older Fan-Tastic and newer Maxx-air fans.
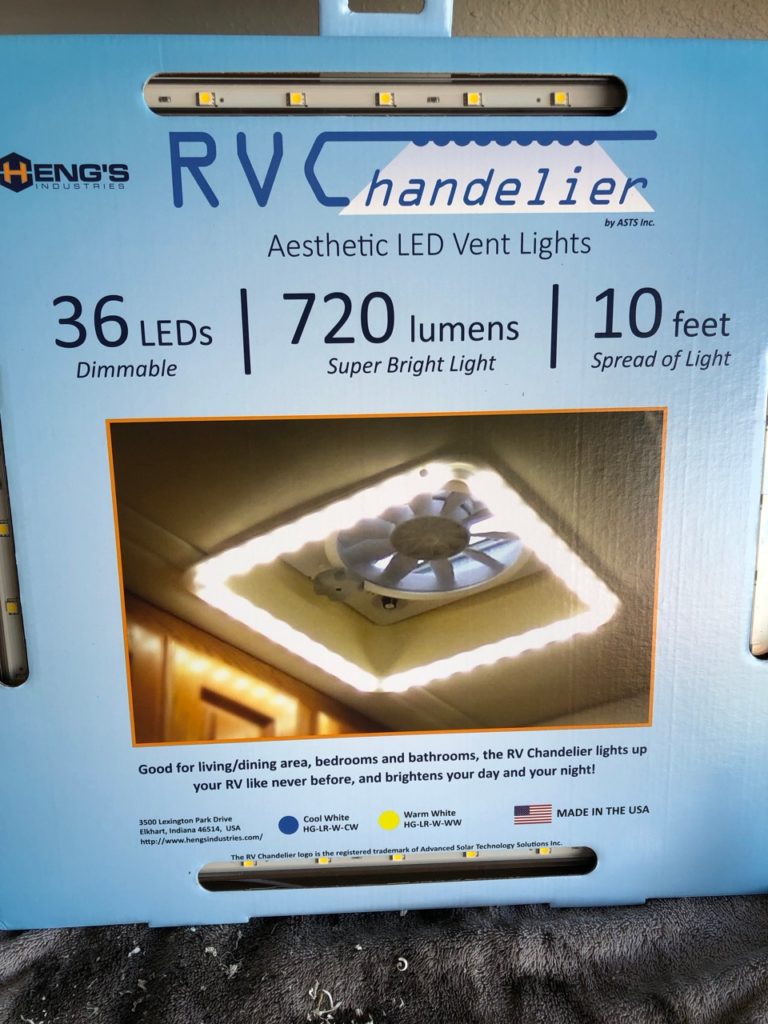
The installation isn’t quite “plug ‘n play” and I consider this to be a “medium” to “difficult” mod. There’s quite of bit of parts juggling overhead. If you’re coordinated and up for a challenge, follow along as I install one. A helper comes in handy although I manage it solo.
The first step is to pull the fuse from the converter panel that powers the ceiling fan. Carefully remove the round screen. Next remove the screw in the crank handle knob and remove the knob. All the Phillips screws holding the fan in need to come out. The fan will hang from it’s wires.
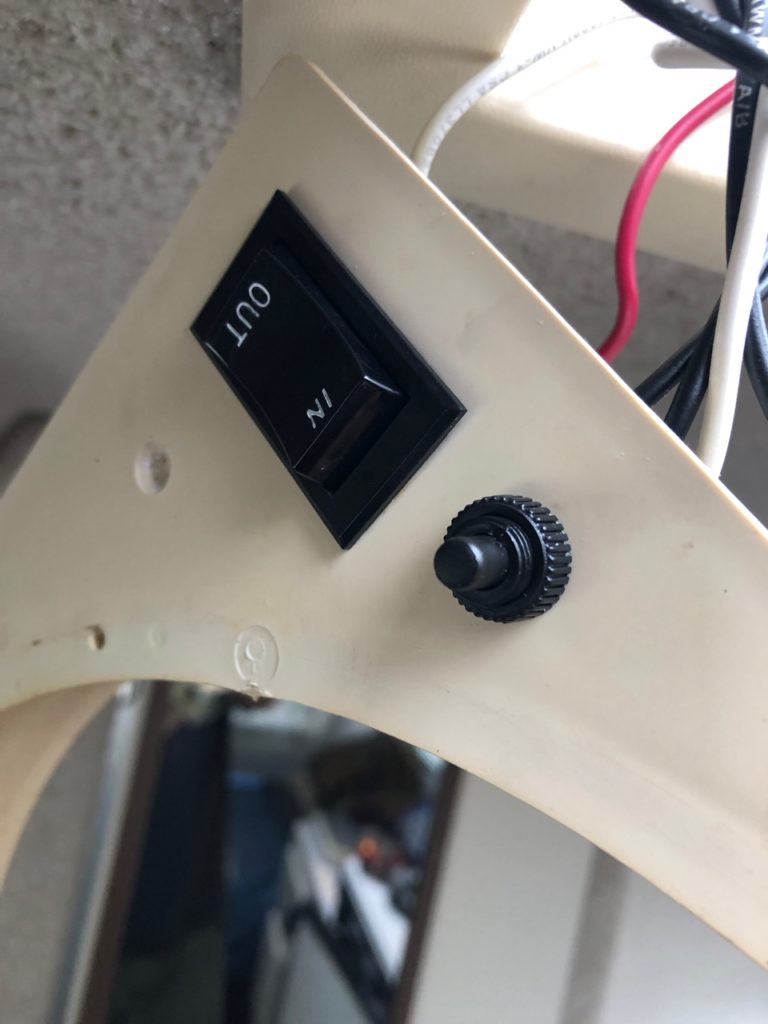
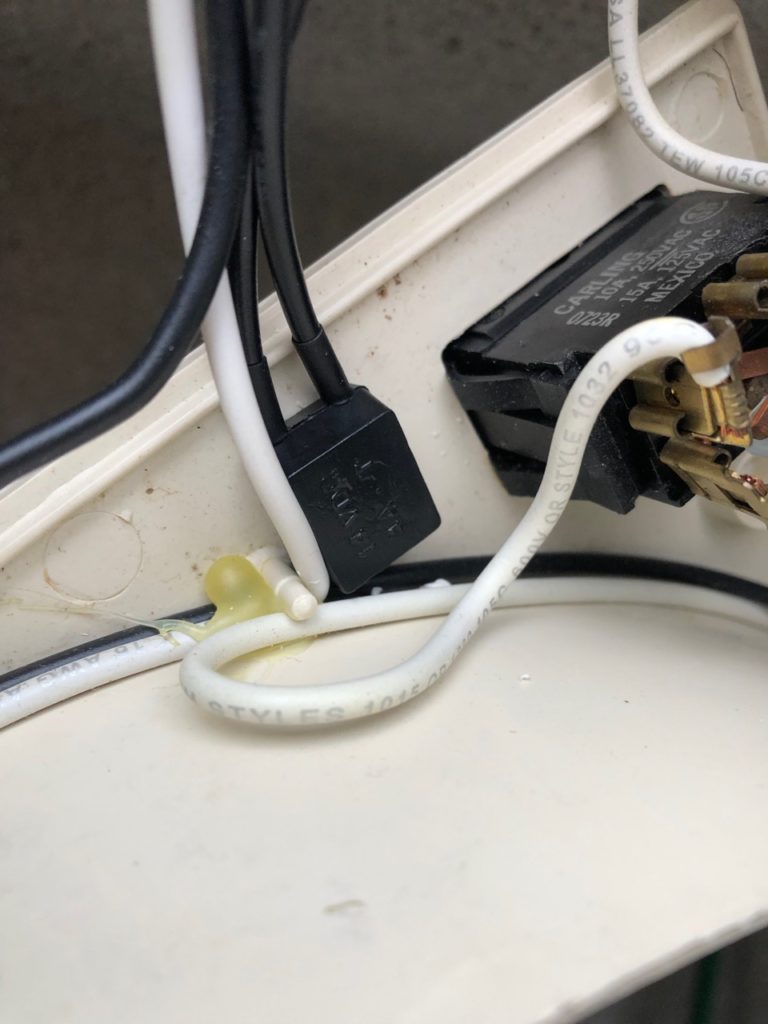
With a step bit, drill a 7/16″ hole in this location for the push button switch. It will just fit. Insert the switch and screw on the knurled ring.
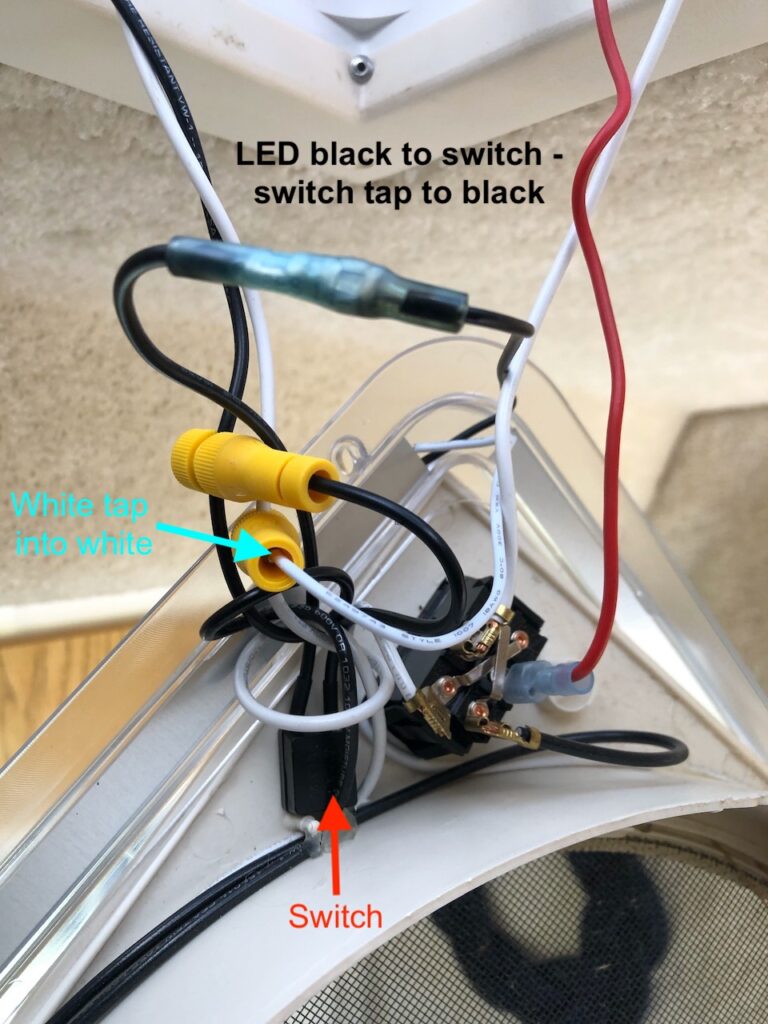
Now for the fun part. One of the black wires from the switch goes to the black wire on the LED light. Using a yellow Posi-tap, splice the other black switch wire into the black fan wire BEFORE it goes to the 3 speed resistor/fan speed switch (otherwise the fan speed will change the brightness of the light!). The white wire from the light taps into the fan’s white wire. Again into a section of wire that goes from the Casita to the fan, not a wire after the 3 speed switch.
Before assembling the fan, insert the fuse and try the light to ensure it works. If it does, it’s time to button it up. Carefully put the fan back in place, tucking the wires between the inner and outer shells of the fan housing. Tuck the lighting wires up so there’s just enough slack for the light bezel to fit up against the fan. Insert the Phillips screws that hold the fan, but don’t tighten them all the way down.
Have 4, short #6 stainless screws ready to go. Tighten up the fan, hold the light into position, and carefully attach the light with the 4 screws by letting them self-drill into the plastic trim of the fan. Don’t over tighten, just a little snug. Reattach the knob and enjoy your new lighting!
Parts and Tools needed:
- 2 Yellow Posi-taps
- 1 blue inline crimp connector
- 4 short #6 screws (1/2″ long)
- Wire stripping and crimping pliers
- Phillips screwdriver or screwgun
- Step bit

24 comments
Hi, Greg! I did this mod with a wireless remote that allows me to vary the lighting intensity from 25% to 100%, as I’m laying in bed. There’s a YouTube video showing installation on a Class-A, that’s pretty good. Thanks for your tips!
Im wondering what Other type and size of wire splicing connectors (like wire nuts, could be used besides the Yellow Posi-taps? And should wire nut alternatives be siliconed? I could not find posi-taps at my hardware store.
Do you have a link for the dimmer you bought
Greg! Thank you for this excellent write-up. I’m the kind of guy that needs to see a wiring diagram to make sure I’ve got the wires attached correctly. Your explanation was so clear, I made my own wiring diagram, then installed my light correctly the first try. Thanks again!
Im wondering what Other type and size of wire splicing connectors (like wire nuts, could be used besides the Yellow Posi-taps? And should wire nut alternatives be siliconed? I could not find posi-taps at my hardware store.
Posh-taps have to be mail ordered pretty much. You can use crimp connectors. Wire nuts aren’t really used for DC stranded wire. Also you need to splice the power wires, so at a minimum use scotch-locks like Casita’s uses. They are at the hardware store.
Also, which Fuse in the converter panel operates the ceiling fan?
I pull one at a time until the fan stops running.
You could also disconnect the battery. Some newer trailers have disconnect in the cabin.
Hi Greg, I installed one of these and when I put the 15-amp fuse back in it worked great. When I turned it off it blew the fuse. Checked the polarity and it was correct. Figured it was the lamp so I got another and had the same problem. In both cases the fan was off when the fuse blew. I tried reversing polarity and blew another fuse. The fan works great both before and after the attempted installations. Should I try a stronger fuse?
Definitely do NOT upgrade the fuse, that can cause a fire. If the fuse is blowing, something is shorted out. Double check everything. Look for a pinched white wire possibly around the frame of the fan. Odd that’s the fuse is blowing while switched off.
I just finished with the chandelier. Looks great and was a fairly easy install even for one person thanks to your instructions.
I do have a question on another topic.
I believe the electric element in our hot water heater is burned. We bought the SD used so it wasn’t me. When I test for continuity I don’t get a reading. My question is what size is the socket needed to take out the element? I spent a lot of time on the forum but couldn’t find an answer. Thanks for your help.
Thought I followed all instructions. It does not work. Where did I go wrong?
Let’s work through this via email instead of comments on the web page. I’l help you out.
I have pictures. Not sure how to send.
Interested in the remote chandelier. Please list link
I’m unaware of a Heng’s brand RV light that has the remote. Maybe an overseas knockoff. The Heng is made in the USA and I don’t mind reaching up for the push button. Less to go wrong.
https://amzn.to/48W69EG
Couple notes that may help others:
– I bought t-taps from Home Depot instead of the PosiTaps and they work
– Don’t need a step bit. You can just drill a small hole first and then incrementally drill it out a bit larger.
– For my ‘07 there was no fuse labeled for the overhead fan. Mine ended up being tied into the far left 15A water pump fuse.
The newer (2023) Maxaire fan is much different that that pictured in the article. There is now a triangular circuit board tucked in the corner of the fan housing and some of the components are solid state now. Be careful to identify the power lead wires – I used my VOM to check which was which before turning off the power. I was also not able to mount the On/Off light switch at the same place as pictured.
Just checked on Amazon and the Chandalier light unfortunately is unavailable and not even list on Hengs website. I even checked eBay , no luck there either. Do you have any suggestions for an alternative? Thanks.
Thanks for the letting me know. I sent a message to Heng’s to see if they discontinued lighting or if it’s just backordered. I do not know of another model that would work. You may get lucky and find some old stock on eBay or other online RV retailer.
I did find another retailer on Amazon that it is in stock but who knaows for how long. Mine is supposed to be delivered tomorrow. Hopefully it the correct one. Here is the link. Thanks so much.
https://a.co/d/hkbnVR9
I got mine installed. I love it. It’s a great addition to the Casita.! Thanks
I found these in stock at a couple of RV supply places by Googling for “HG-LR-C-CW-AFT”:
https://g.co/kgs/Y7hj6sc