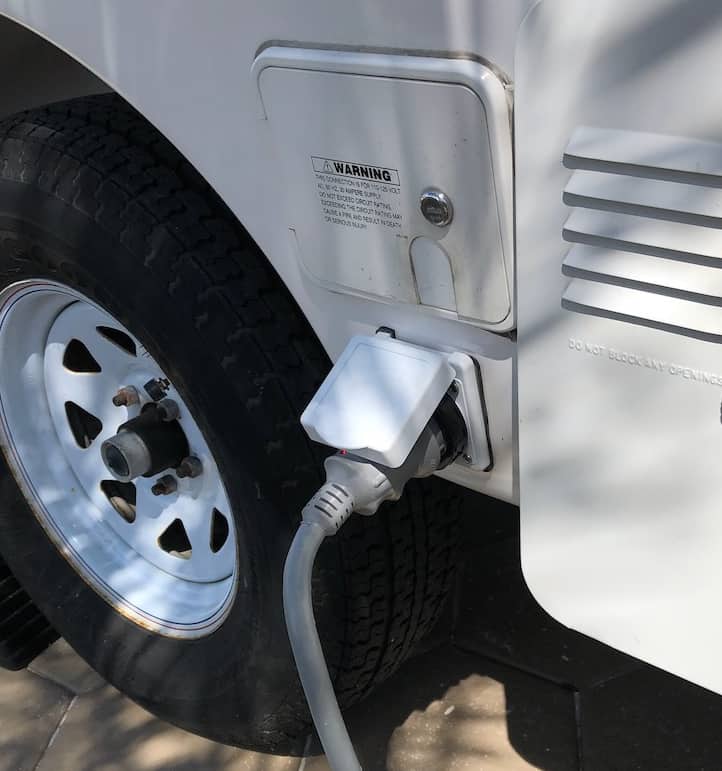
Upgrading to a detachable power cord has a few advantages. The connection is weather and bug proof. The cord can be coiled up and kept elsewhere or stuffed back in the original hatch. The 30 amp twist plug is standard in the RV/marine industry, so you can buy different length cords or extensions.
The Casita uses a 30 amp 3 prong twist lock outlet. Not to be confused with the 4 prong, 50 amp cords for the big RV’s. There are cheap ones on Amazon under $20, or you can go with a name brand such as Park Power, Furion or Mighty Cord for a little more.
Note: Clicking on any of the little images will take you to Amazon to buy that part.
I like the Furrion brand power inlet. It’s pricier but heavier duty than the cheap-o ones.
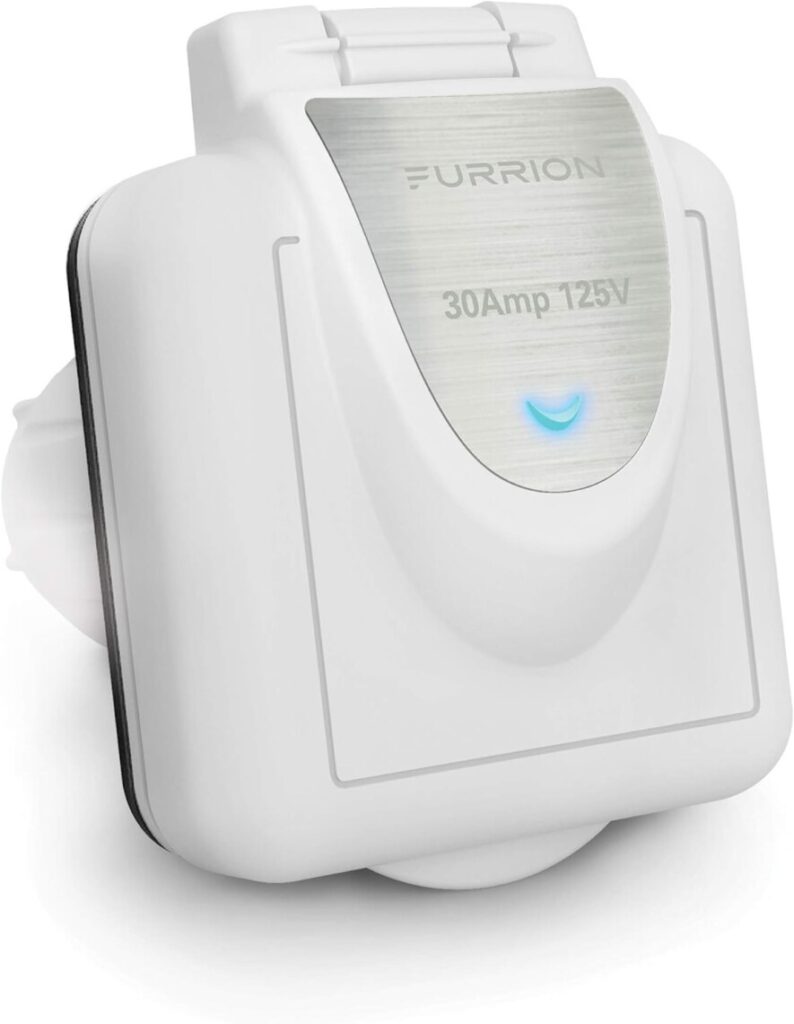
You can convert the old cord with a new plug with this kit that includes the outlet for even more savings.
For a little more you can buy a new cord that will be weather sealed, plus it’s less work!
The conversion is fairly straight forward.
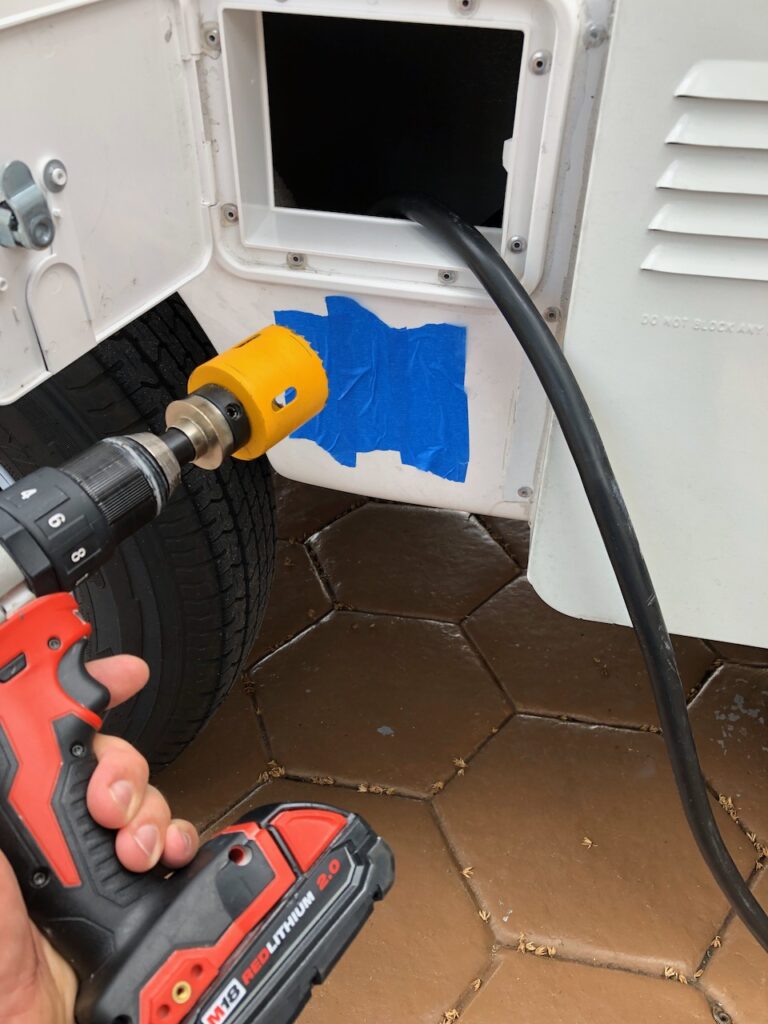
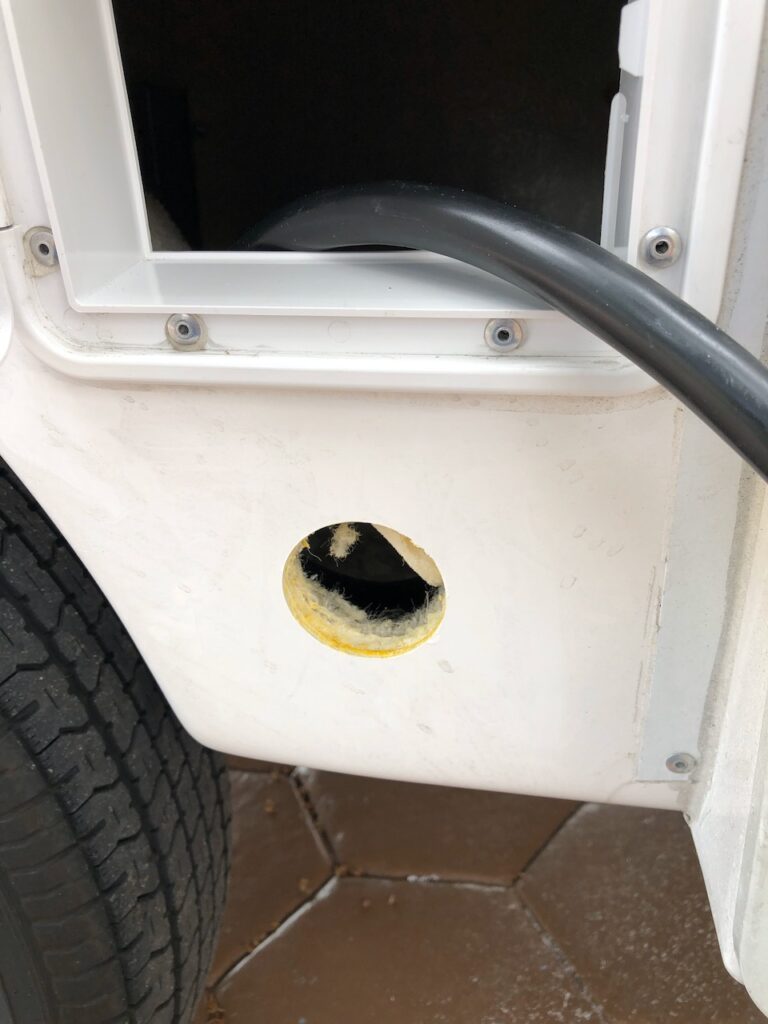
The first step is to throw away the instructions. They tell you to drill too big of a hole. In my case I only needed 2 1/8″ hole saw (double check on your outlet). Having a smaller hole will give more room for the mounting screws in the next step. I use blue painter’s masking tape to protect the gel-coat from chipping. Before drilling, check on the backside of the wall with your hand to avoid cutting anything you don’t want to!
Pro-Tip: After the pilot bit goes through the fiberglass, reverse the drill and let the saw teeth score the gel-coat. Switch to forward again and drill through the fiberglass. Once through, reverse the drill again and let the saw cut through the foam and carpet. That will keep the drill from snagging on the carpet and make a perfect hole.
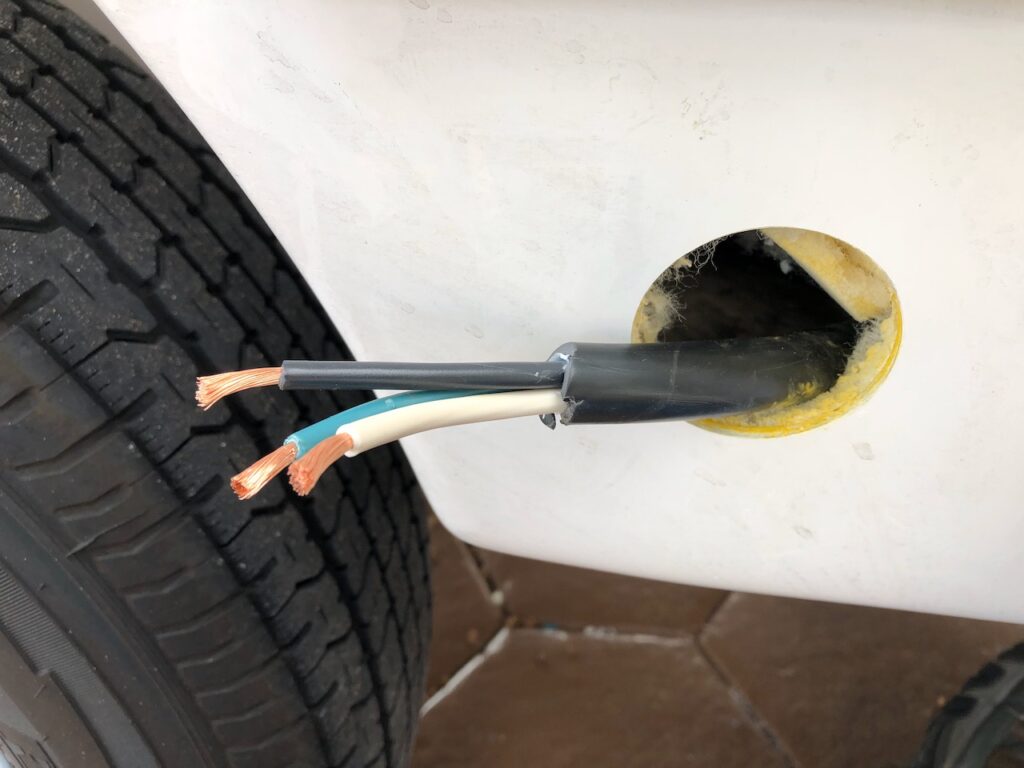
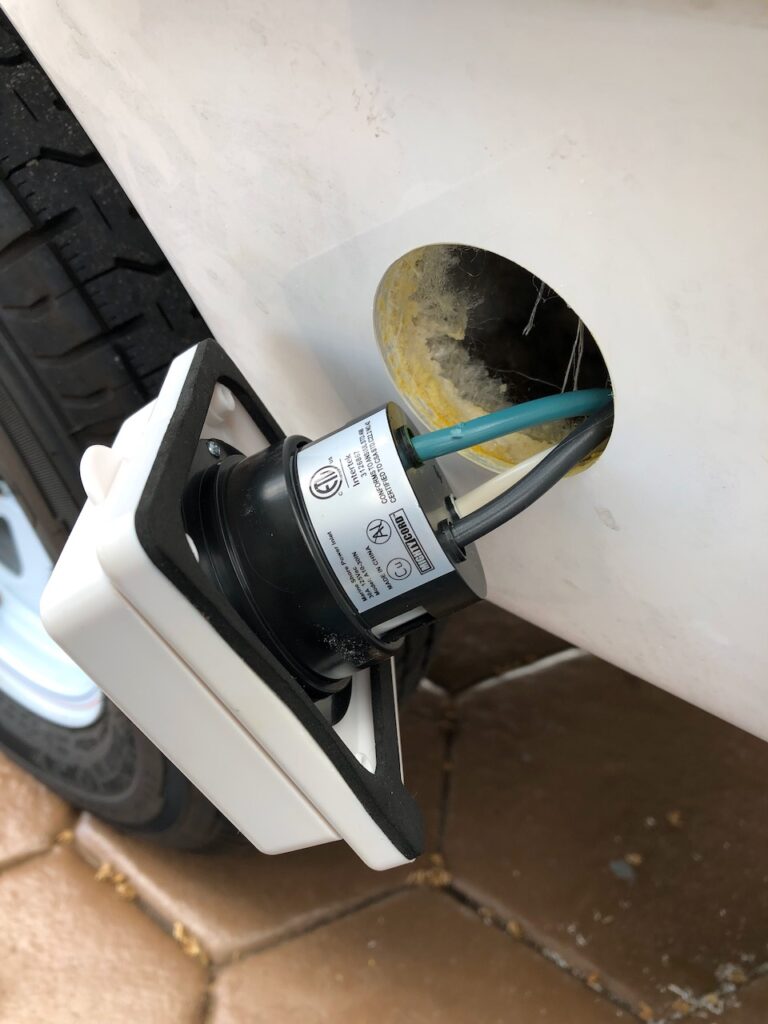
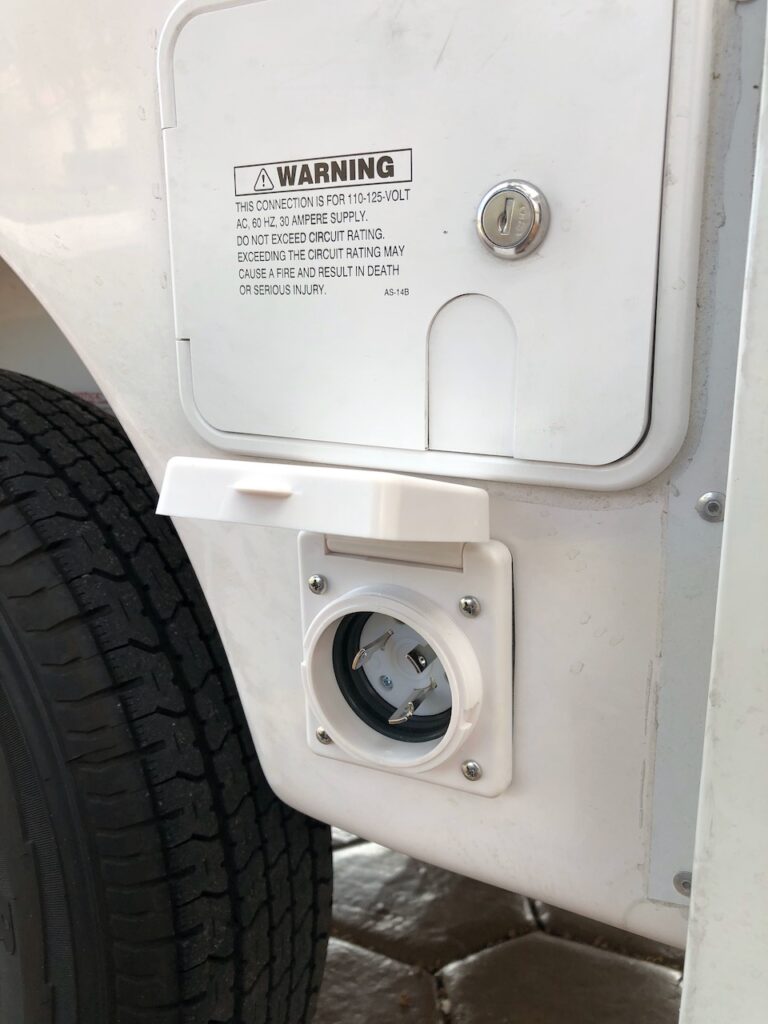
Pull the old power cord through the hole and cut it with a few inches remaining outside. Cut the insulation back and strip the 3 wires to expose 1/2″ of wire. The outlet is marked (W) for white, (B) for black, and surprise, (G) for green. Put the gasket into place, insert the wires and tighten the set screws. Push the outlet into position, mark and drill the 4 mounting holes with a 1/8″ bit and mount with #10 stainless sheet metal screws.
If you bought a new power cable, congratulations, you’re done! If you are going to convert the old cord, read on… However you’ll see it’s well worth the extra $20 to just buy a new cord.
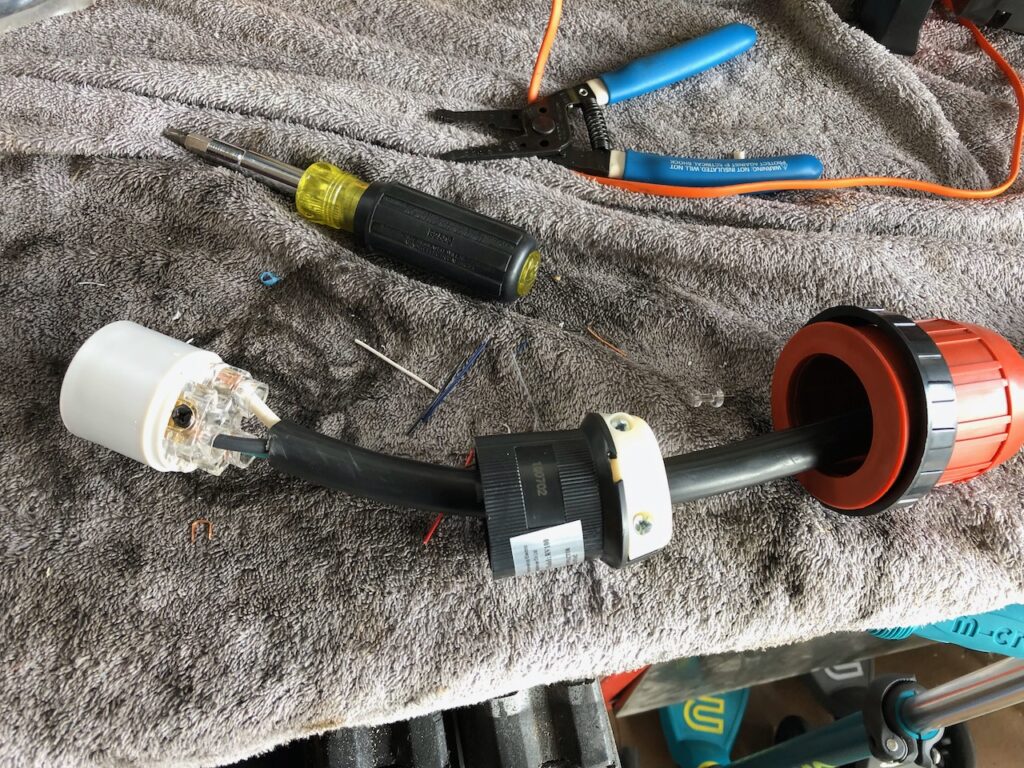
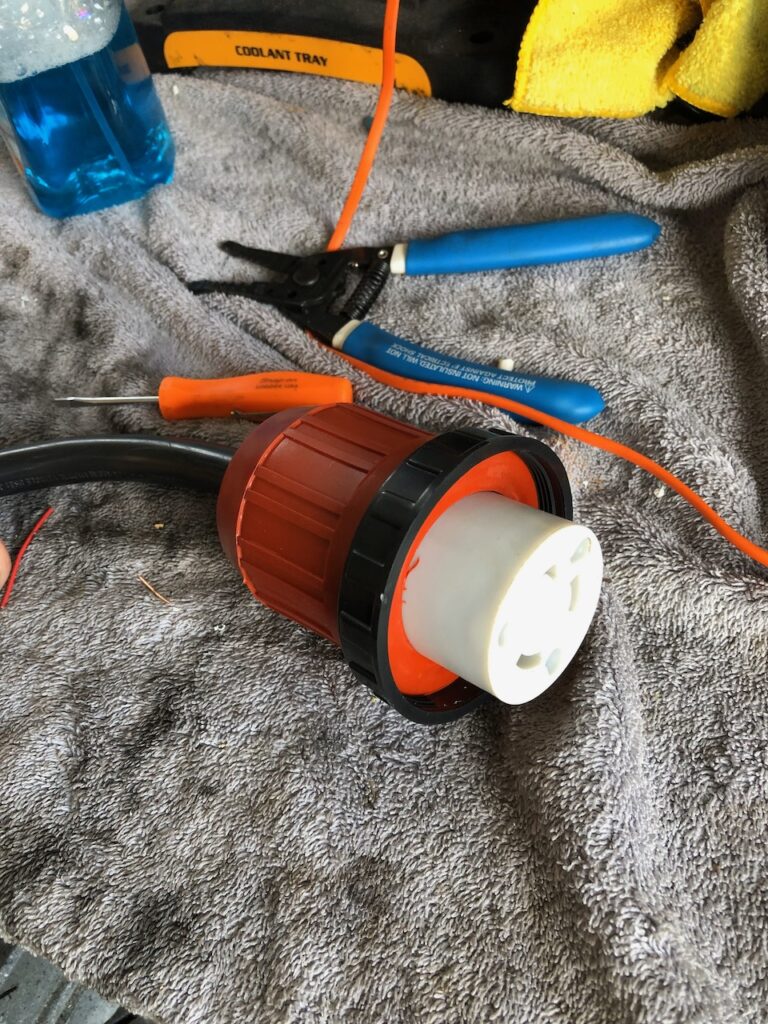
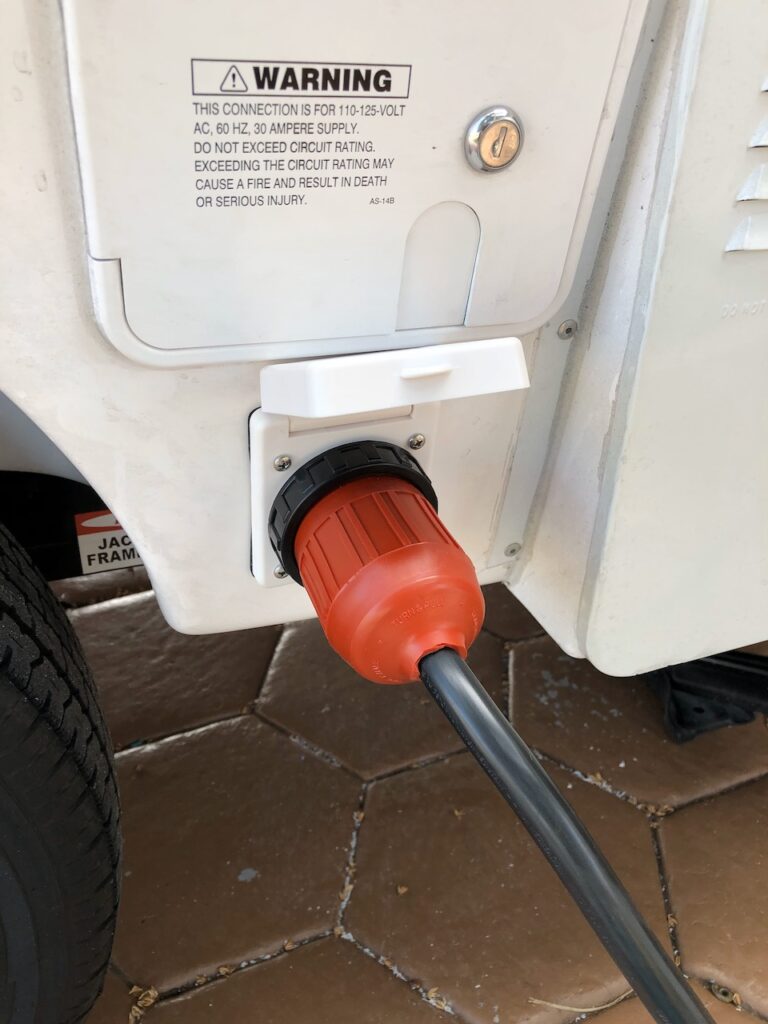
To add the new end, push the cut end of the power cord through the weather boot, the back of the plug housing, and strip the ends. You may have to adjust the length of each color of wire to get it all to fit. It’s a fiddly process to get the wires into their positions and tighten the screws, assemble the outlet, and wrestle the boot in place.
Pro-tip: Do NOT loosen the terminal screws too much, or the clamp will fall loose inside the plug and require disassembling and reassembling all the pieces and verifying the correct pins are in the correct slot. It’s a major pain to correct.
Once complete, use a circuit tester on an outlet to verify all three wires are correct.


Here’s a good circuit tester. You want the center and right amber lights to illuminate, otherwise something is wrong.

20 comments
Greg…..
Thanks for a great how-to…… When I’m sheltering at home this spring and summer, this’ll be a positive project.
Frank 🙂
Excellent. Im an ex boater (40 yrs). It amazes me that Cassita/Scamp etc have not used more of the gadgets we use in boats.
Thanks Greg, great directions!. I’m going to do this but higher up and to the left and replace the small Electrical access door with a bigger door for storage access.
Love your Site but, “Go Air Force!”
Finally did the mod AFTER the mice got in through the mouse hole. Slow learner .
Hope you guys have a great experience on your tour.
Robbie, I’d like to see a photo or two of your conversion. Where can you get a bigger door for better access?
Thanks so much for the tips!
Hi, Greg! Great guide to a simple, useful mod…Thanks for sharing!
A more-expensive, but similar connector is the SmartPlug…shaped so it plugs in only one way, even in the dark, and provides better electrical connections. But, can’t be easily replaced if you lose it on the road…to each his own. Cheers!!!
Greg – does changing out the cord open up more storage space? It does make it look easier to get to the cord. I have a spare Furrion cord available so it should be an easy conversion.
You do get some more space if you keep the power cord elsewhere. I use the compartment for my adapters, surge protector, and keep the cord in there.
Thank you! We are returning to a Casita 17′ after using our 19′ Escape for only 9 months. There are things I knew we’d miss, among them the plug-in electrical cord. We are grateful for the information!
Greg, do you have a Amazon account? I want to purchase the exact parts that you have researched and purchased. Thanks much.
I do. If you click on the photos in the articles, they will take you to Amazon with the correct link for the parts. If it doesn’t work, let me know.
Thanks so much for this post. We were able to do the 1st part, but converted the cord, I am getting conflicting instructions. The written instructions show where to insert the white wire, but on the part itself, there is a white band around the post – a completely different post. I am unsure which one is correct!
Try this: The screws on each terminal are color coded, dark or gold for hot, sliver for neutral and green for ground.
Thanks for the suggestion, Greg. Unfortunately the screws are only silver. At this point, I’ve ordered a cord and if I still don’t have power, I will have to back out the plug and check it’s wiring.
It’s a go! Black wire had come out of the terminal. 🙂 Thanks, Greg, for the inspiration for this mod! No more mice climbing up my power cord and into trailer! Yay!
Excellent post, but your link to the Marinco Power Inlet does not take you to the complete inlet. It now goes to just the cover with nothing to attach the cord to. Do you have a recommendation for another?
Good catch. Amazon must have changed the listing. This one gets great reviews and Furrion is a well known brand. Plus it looks cool. https://amzn.to/49yBCwS
Another great tutorial. Newbie here. How do you use the circuit tester? Or, does it come with instructions? I know nothing about electrical.
Buy a 3 prong circuit tester and make sure it lights up for “correct” and you’re good to go. I like to plug a circuit tester in every power pole before I hook up the Casita so you know it’s wired correctly. You can get a circuit test on Amazon or hardware store for about $10.