

Wheel bearings can be a mystery, but they’re quite simple. The greased roller bearings carry the load and reduce friction so your wheels can turn going down the road. According to Dexter, the maker of the axle, they should be inspected and greased every 12 months or 12,000 miles.
Personally, I think every year is overkill, but the 12,000 mile rule is pretty good. I’m comfortable going up to 3 years between service, but that’s up to you to decide.
For such a simple service, it’s actually quite difficult. Unless you’re quite the do-it-yourselfer, like getting greasy, can pound on a drift with mini-sledge hammer, this job could be best for a trailer shop.
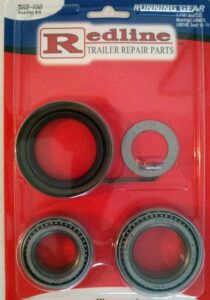
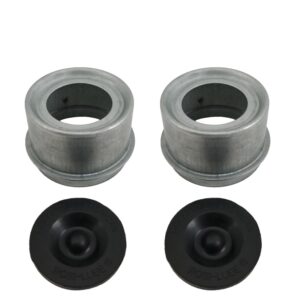
Because this job is so labor intensive, I highly recommend replacing the wheel bearings and seals with new parts instead of cleaning and greasing the old bearings. The grease seal will need to changed anyways and the parts are only about $40. You need 2 sets of BK2-100 bearing kits for a #84 axle. Little House Customs sells them, and sometimes you can find them online through Amazon or Wal-mart. I also recommend buying new metal dust covers and rubber caps.
Ready to learn how to do this? First a tool list to see if this for you:
- Jack and jack stand to lift the Casita
- Lug and torque wrenches for the wheel lugs
- Rubber mallet to hammer off dust caps
- 1 1/2″ socket, wrench, or big channel locks for the wheel bearing nut
- Long “drift” to hammer out the bearing races
- Heavy duty seal puller
- 2.5lb mini-sledge hammer
- Hi-temp axle grease
- RTV sealant
- Lots of paper towels
- Long regular screwdriver or “brake spoon” to adjust brakes
Highly recommended, but not required:
Let’s get started.
Pro-tip: Put the new bearing races in your freezer while taking the brakes apart. They’ll be easier to install because they will shrink just a tiny bit
- First chock the opposite wheel, jack up the Casita from the frame (not the axle tube), and remove a wheel
- Using a rubber mallet, hammer off the metal dust cap as you rotate the brake drum
- Pry off the gold star cap that keeps the axle nut in place. On much older axles, you may find a cotter pin instead, remove that
- Remove the 1 1/2″ castle nut and washer
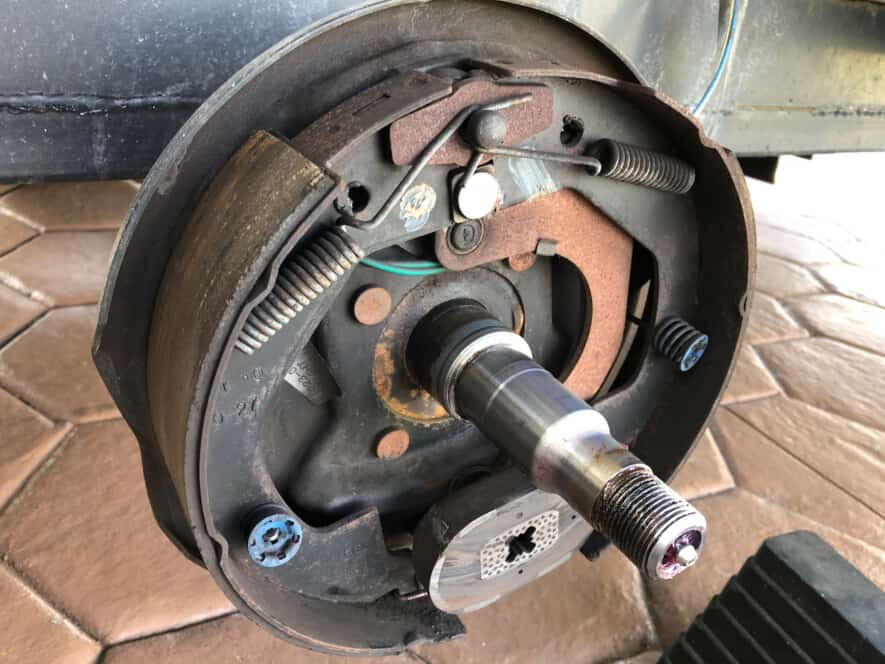
- Pull the brake drum assembly off (the outer bearing will be loose and can fall out) and clean the spindle
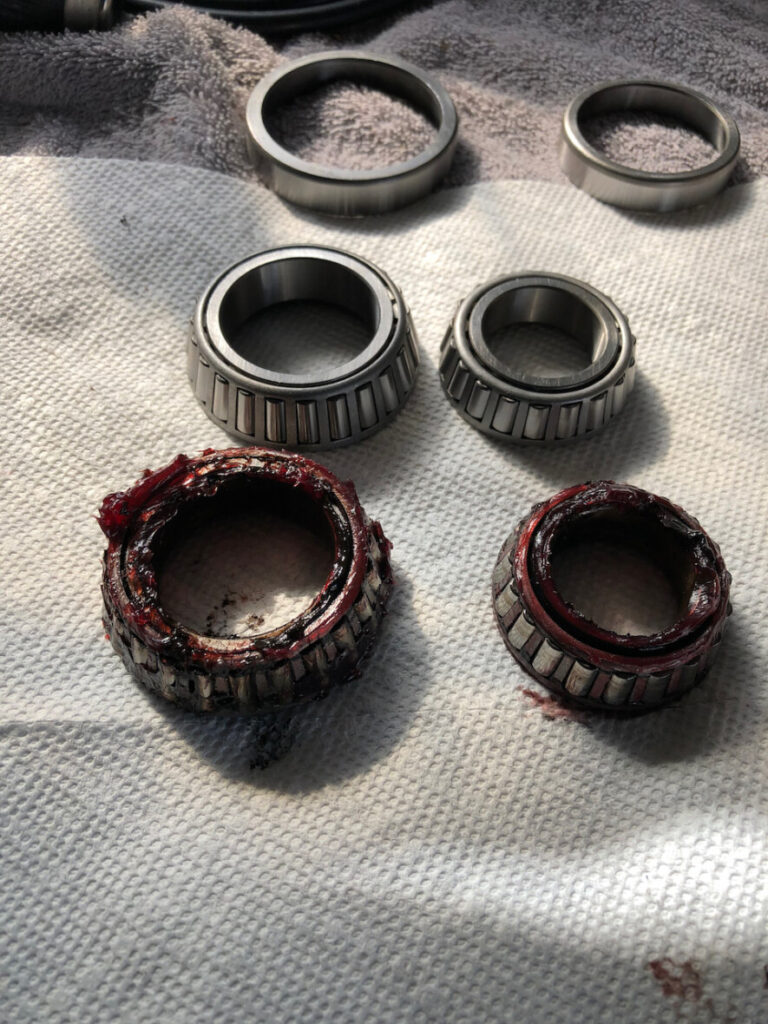
- With the seal remover, pry out the grease seal and remove inner bearing
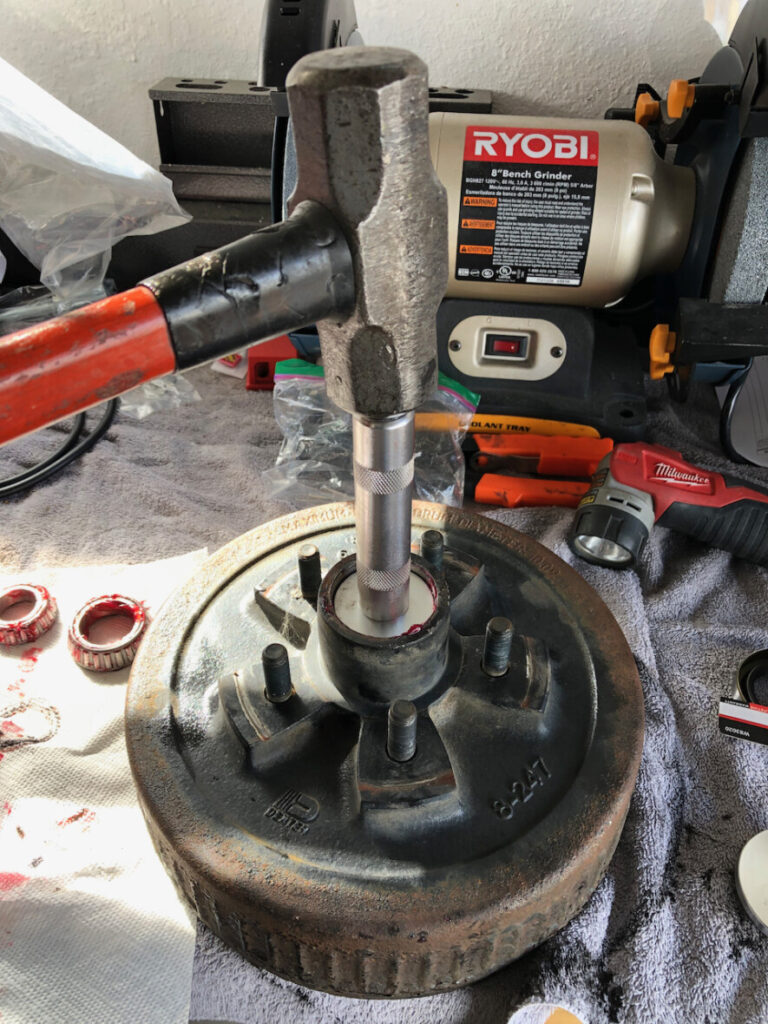
- Using the drift and hammer, find the lips of the bearing races and hammer them out. 2 per drum
- Take the new races from the freezer, lightly grease, and hammer in place with your bearing race driver set
- Grease the new bearings with hi-temp axle grease. (I like Lucas red ‘n tacky #2) and set the rear into place
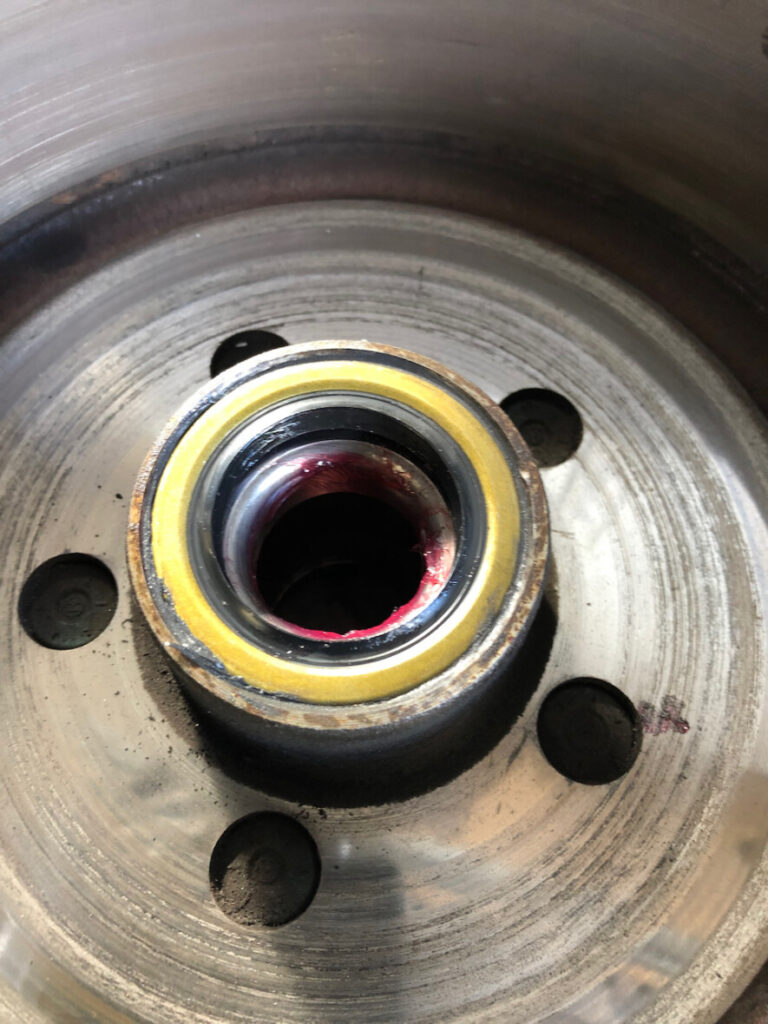
- Put RTV sealant on the outside of the new grease seal and hammer into place using the seal driver from the set
- Now the drum is ready to re-install on the spindle. Slide on the outer bearing, washer, and thread on the castle nut
- While turning the hub, tighten the nut to 30 ft/lbs of torque. Stop turning the hub, back off nut, and finger tight
- Snap on the gold cap or re-install the cotter pin
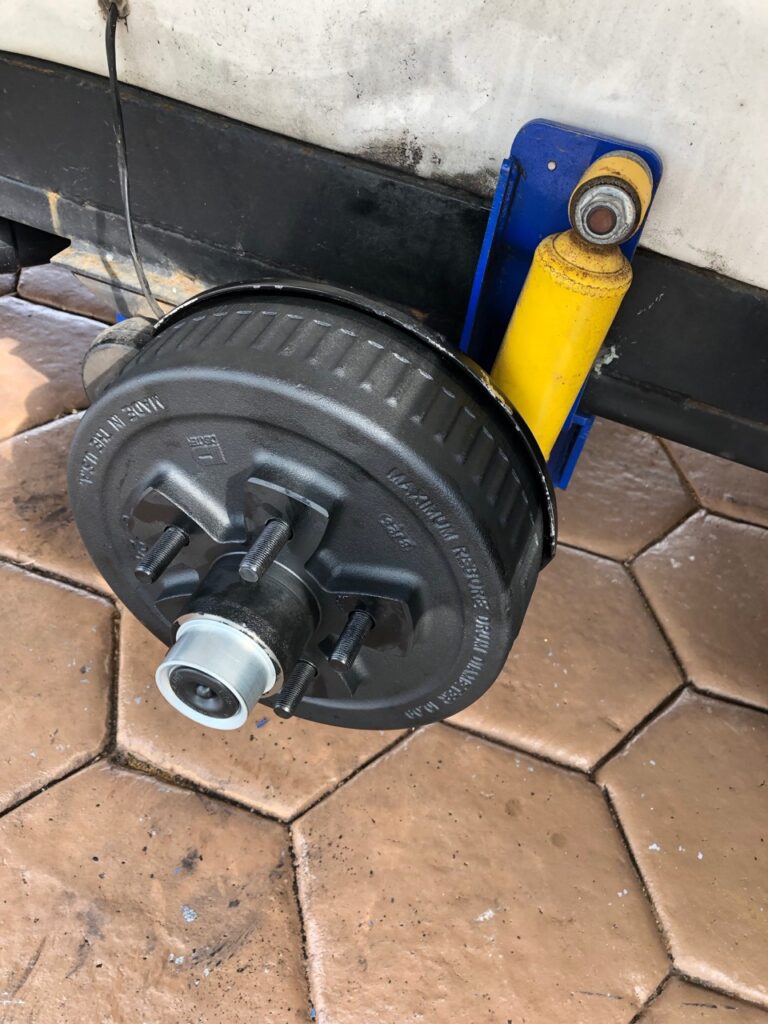
- Hammer on the dust cap with a rubber mallet
- Install wheel and adjust the brake shoes as required by removing the rubber dust plug on the inside of the backing plate and clicking the star wheel up or down until the brakes just start to drag and back them off a few clicks until they rotate free
- Lower off jack stand, and tighten lugs to 100 ft/lbs
Dexter has a video on the procedure, although I like using a race and seal driver vs using the drift to avoid messing up the new parts.
If you notice the brake linings are getting about as thin as their backing plates or your brakes squeal, plan to replace the brakes on the next service. It’s nearly as cheap and much easier to buy new brakes and drums rather than messing with replacing the brake shoes and hardware. 4 nuts and 2 electrical wires per side is all it takes. New bearing races are already installed on new drums so there’s even less work involved.
Congrats, you’re ready for another 12,000 miles of adventure!
4 comments
helpful information – thanks
I am newby with this operation. I have several items that I know others will benefit from your insight!
1. I EZ lube the spindle before, putting wheel on so as to get new grease in and on spindle filling the space – is this a good thing?
2. I don’t use a torque wrench to tighten spindle nut. I do it by tightening and backing off nut. Who knows how much for of torque I am getting – is torque critical?
3. I have gold star clamp on my 2021 Casita – how do I know I got it on correctly?!!!
Thanks so much for sharing your insights! I found DexterAxles vid lacking.
That’s likely using too much grease, you don’t need that much to keep the bearings happy. Less to leak out and it’s expensive!
It is pretty important. You should torque to 30ft/lbs while rotating the wheel. Harbor freight has decent torque wrenches on sale for about $25. Then you can use it for the lug nuts too. Get one that goes to 100 at least.
The gold star snaps over the nut. As long as it snaps on and the axle nut cannot turn, it’s correct.
One tip to help the next person who does this for the first time: the bearing races (the outer ring that the bearing spins in) are NOT symmetrical. They are slightly “cone shaped”, having an “inside side” and an “outside side”. If you put them in “wrong side out” you’ll be hammering them back out because the bearing won’t fit.