

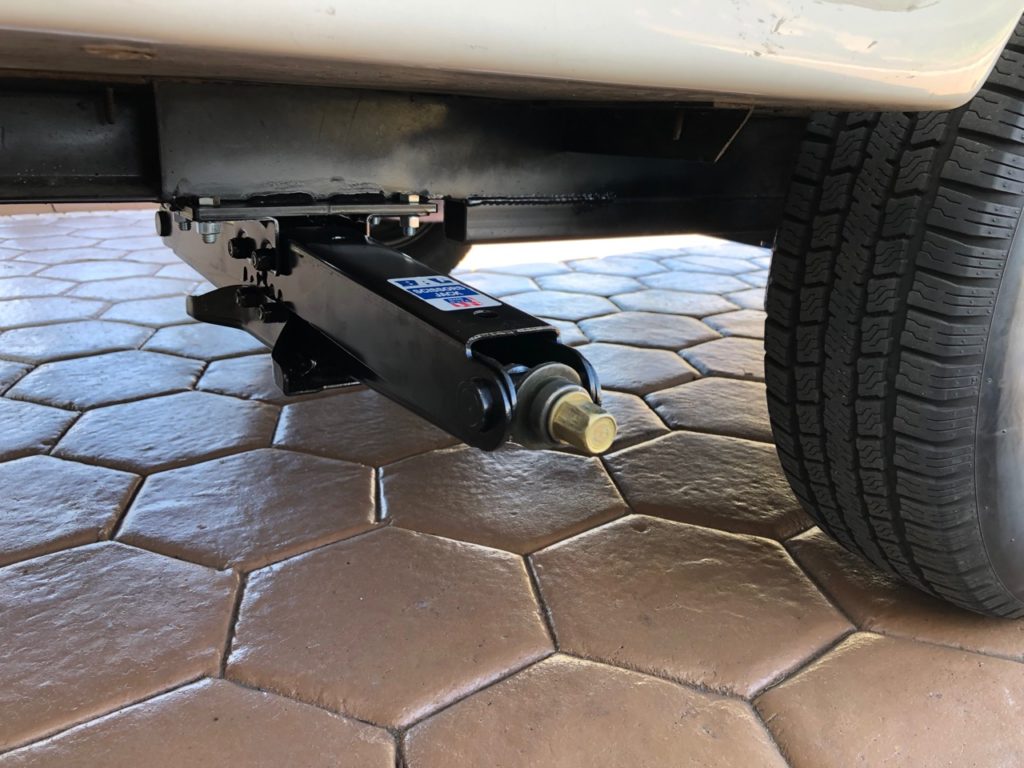
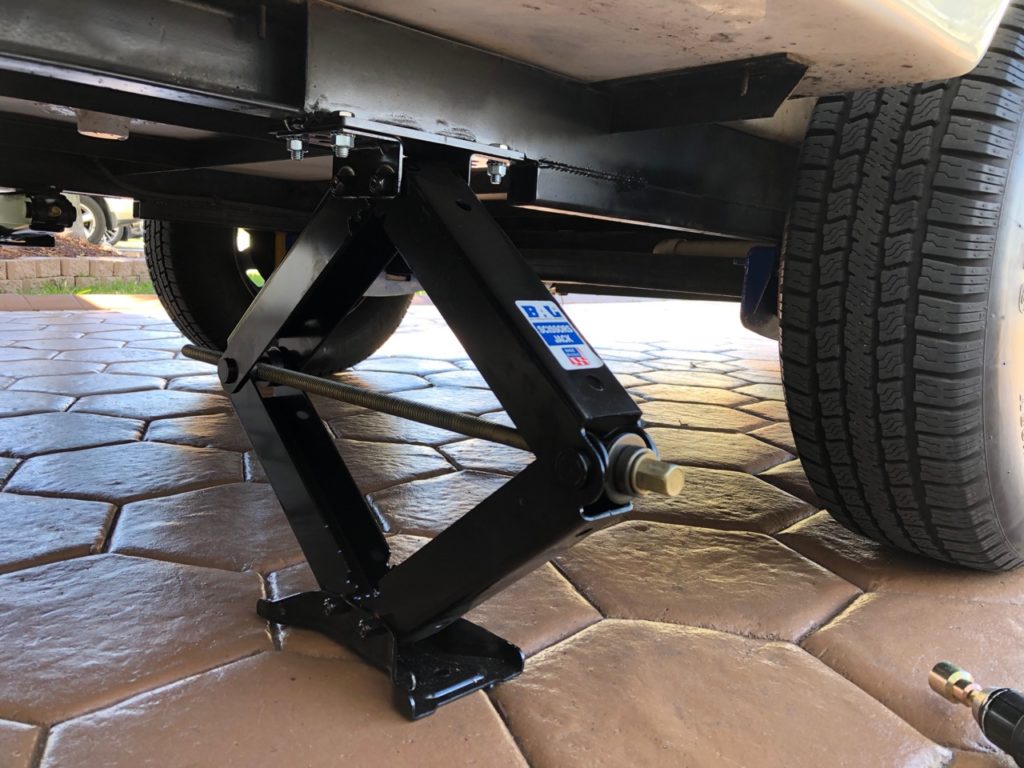
Adding BAL scissor jacks greatly increases the stability of the Casita. Prior to 2019, Casitas came with single leg rear stabilizers and relied on the single front jack to hold up the front. This tripod arrangement isn’t as stable as 4 corner jacks. Starting with 2019 models, Casita added rear scissor jacks, but they still leave the single jack as the only support up front.
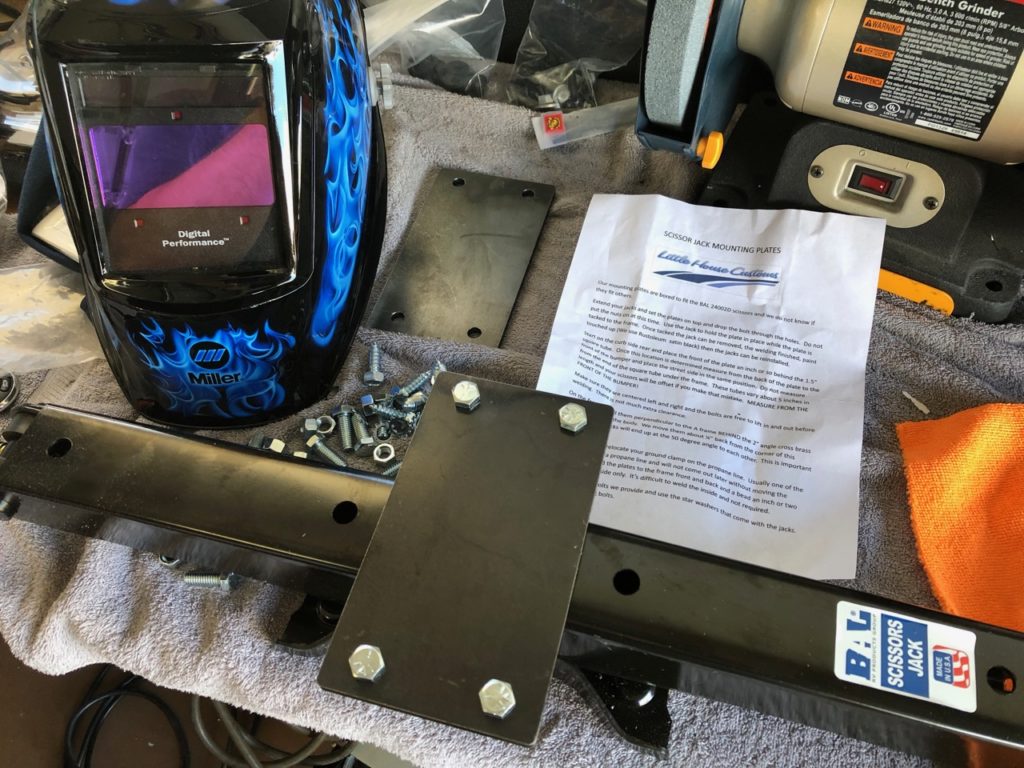
Little House Customs sells laser cut, 1/4″ thick steel mounting plates. They are welded to the frame and BAL 24002D jacks bolt to the plates. This is nice because if a jack gets mangled (maybe by leaving one down and driving away), they can easily be replaced with a few bolts. Factory Casita scissor jacks are welded directly to the frame so replacement requires cutting and welding.
Each made-in-the-USA jack is rated for 7,500lbs. Using a pair of them, a wheel can easily be lifted to change a tire, although officially BAL says not to lift a tire off the ground. I think that warning applies only to much larger and heavier trailers with multiple axles. The Jacks come in pairs and are available here (click the green words).
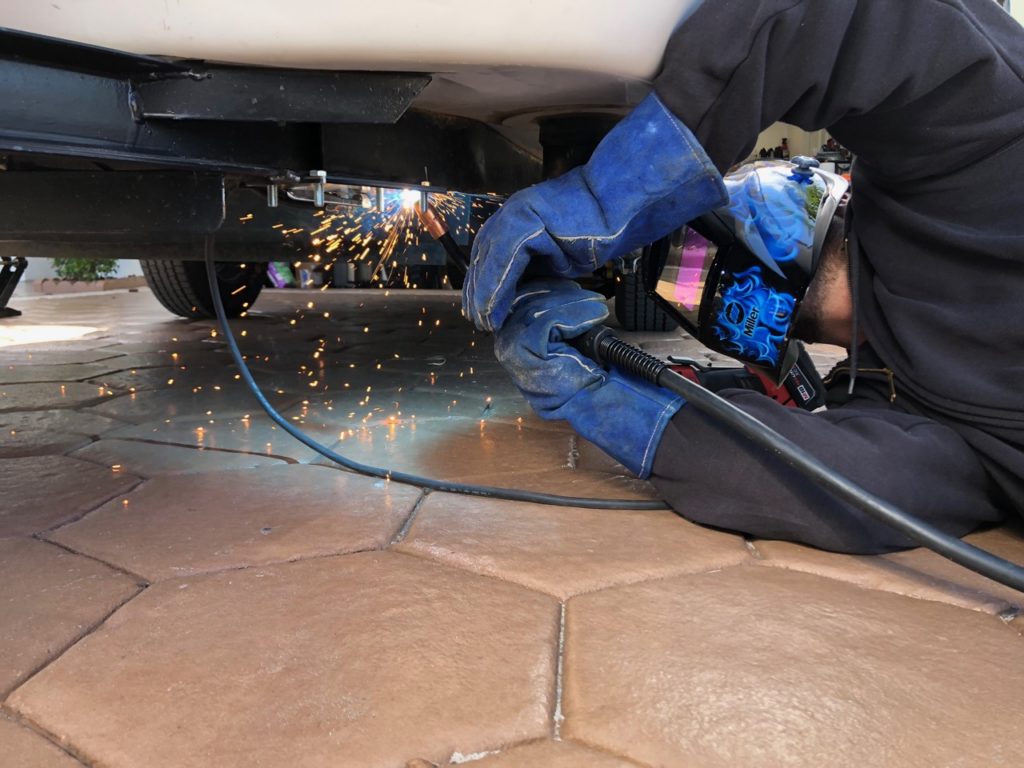

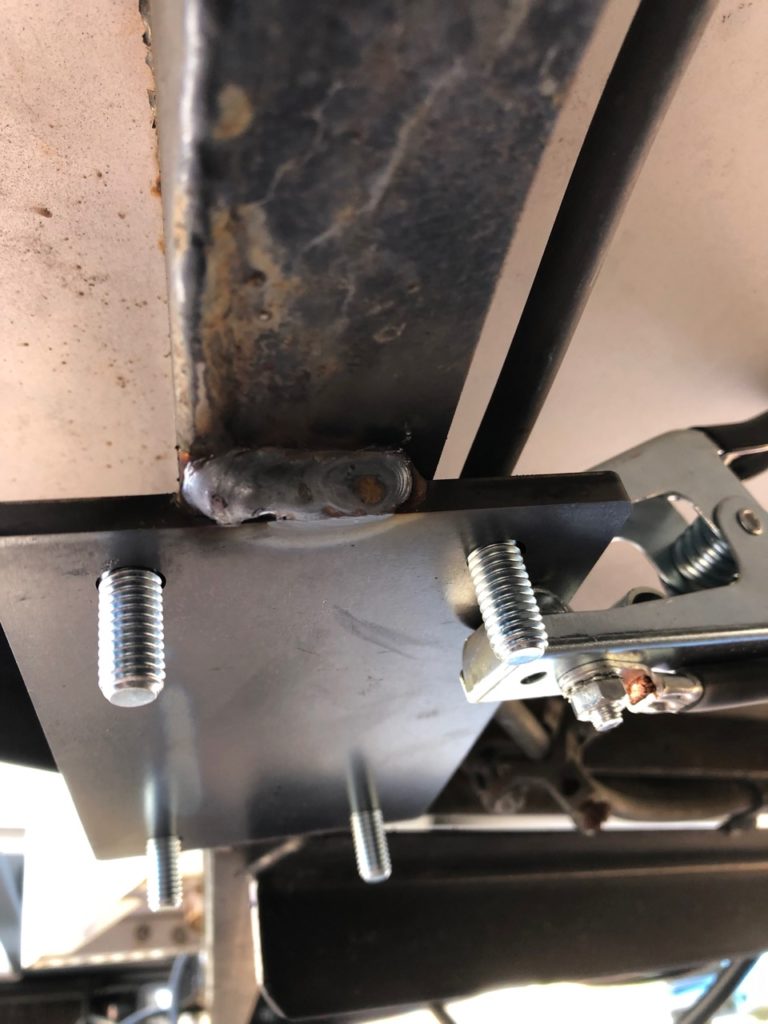
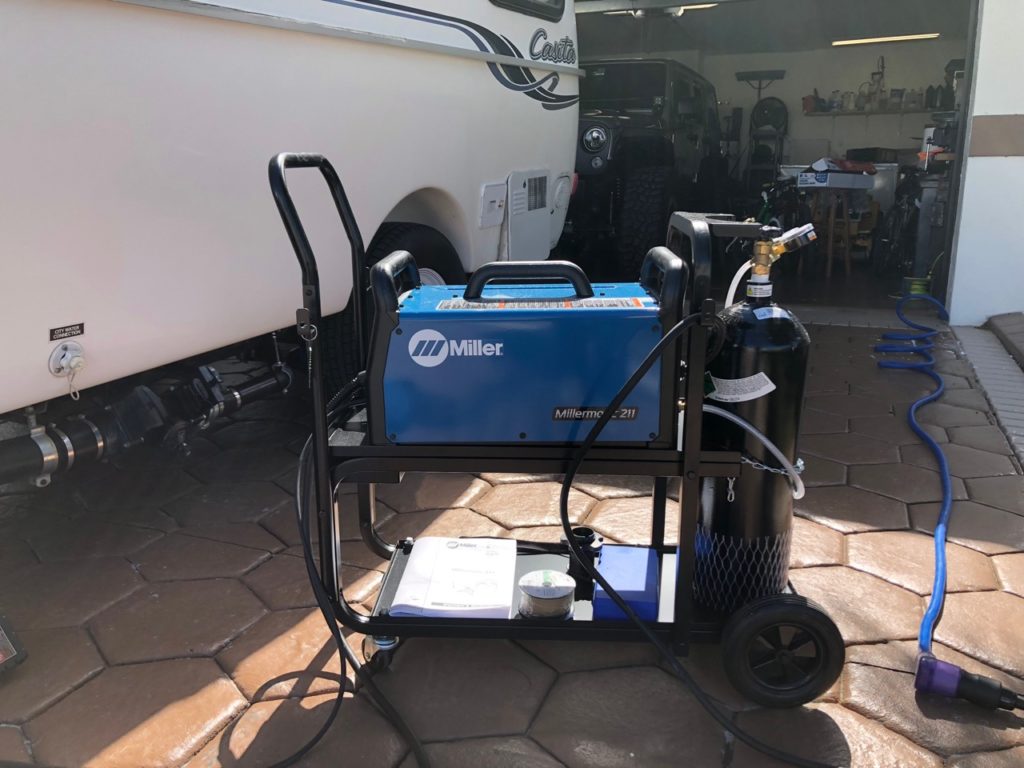
A local welder can easily add the plates to your Casita. If you’re a D.I.Y.’er with a welder, use a grinder with flapper disc to clean up the frame to bare metal. With the plate in place, the jack is extended up to hold it tight against the frame. The plate is tack welded, which means just a dot at each corner to hold it in place. Once fitment is verified, the jack is removed and the plate is welded in front, back, and along the outside edge. I use a Miller 211 MIG welder, which does a great job. After it cools, I spray satin black rustoleum paint to protect the metal from rust.

Each pair of jacks comes with a hand crank, which is good to keep for a back up. For primary use, Camco sells an adapter to use a cordless drill to run the jacks up and down. Zip, Zip, Zip, Zip and you’re leveled and stabilized.

31 comments
Did the propane line give you any isssues?
No, it cleared just fine on ours. Some Casitas require moving the ground clamp on the propane line.
What is the optimum bolt size? Lock tite nuts?
The Plates from Little House Customs come with new 3/8″ bolts and nuts. You use the star washers that come with the jacks and throw away the lag screws. No need for loc-tite with the star washers, although it can’t hurt if you use blue.
Thanks for the response. I received the plates and set them aside and didn’t realize bolts were even included. When I start I should be in great shape. As a Casita owner, I appreciate your site. Only positive current Carona opportunity is the time to work on our trailer.
Did you remove the existing jacks or leave them on?
I left them on, no reason to cut them off.
Just finished this upgrade. Glad I did it. Worksperfectly. Easy with all the information and pictures.
Did you run into any clearance issue with the floor drain on the passenger-front side jack mount? I got my plates all welded on then when is when to fold the jacks up the front right side was pressing on the floor drain valve hardware. Since the plates were already welded in place i ended up having to grind out a groove in jack to allow it to sit right when retracted. It was a bit of a bummer. Wondering if anyone else had this issue.
No, the only clearance issues I’ve had are the propane ground clamp, which is easily resolved. I wonder if they welded your plates a little too far back? They should be as far forward as they can go on the angle of the frame.
I had and solved the same issue. Rotated plate to a diagonal position, (No longer perpendicular). Positioned plate 3.5” toward tire, back from 2” angle iron brace, kept jack centered on C. Frame. Jack crank now pointing more towards, but not directly pointed at, C. hitch. Key takeaway was to hold folded jack up against C. frame to check for clearance before welding. Blue masking tape to mark locations was more visible than marker pen.
Greg – on our older Casita (since sold) I purchased two Toyota jacks from the local junk yard, and installed them on the frame by drilling four holes and bolting them on. Looking back, was this a bad idea, possibly weakening the frame? I have a 2020 on order, and want to install the front jacks to stabilize the trailer.
Enjoy your project posts.
Yes it’s not a good idea to drill into the c-channel on the bottom edge. I would use the weld on plates from LHC.
Greg, I have an ‘03 with the low lift axle. I would like to have two jacks in the front. What should I do?
I would replace the axle with a Dexter high lift. Then with the added clearance, you can add jacks to the front using the Little House Custom plates and BAL jacks I use in the article. 2003 might have a welded in axle which the shop would have to cut out and bolt in the new one. If you already have a bolted in axle, it’s a very easy job. 4 bolts, 4 wires.
Did you have the hi-lift axle or the regular height axle?
hi-lift axle. It’s not recommended to run the scissor jacks with a low axle. I’ll add that to the article.
Thank you Greg. Once they have their supply chain sorted… Would fitment of this; http://www.perfectcasita.com/casita-axle-lift-kit.html bring the scissor jacks back into feasibility? The kit provides an additional 3″ lift. I have not determined the height difference between standard issue Casita low and high axles.
I’ll send you an email, but Dexter makes a lift you can order today!
Is there a drawing of the plate placement? The instructions from little house don’t make much sense to me but maybe they will to a welder.
No drawings, but the instructions were clear to me. Start with right rear, the left rear gets put at the same location measured from the rear bumper. On the front, they go on the angled part of the frame as far forward as they can go without interference.
What is the length and width of the 1/4 plates?
Ben, I don’t have those specs on me and now that I’m in Italy, I can’t measure for you. I would ask on the Casita forum or one of the Facebook groups.
I just waited for the jacks to arrive and then measured. I had some 1/4 plate and cut it 7 x 3.5 inches, then drilled 3/8 inch holes to match scissor jack top.
Thanks for the write-up and pics for this DIY, Greg. I made my plates and welded on according to the location I figured out from your photos. Because of the weld on the boxed portion of the frame as it angles forward, I ground the bottom portion flat and then welded my plates so that they would be flush to the frame-rail bottom and parallel to the ground. Coated with black bed liner for rust prevention, let dry, then bolted jacks using 3/8 bolts, washers, and nyloc nuts.
Greg, I appreciate your site! I’m a new Casita owner and similar to Sean from the June comment, I welded my plates on before realizing that the front right jack can’t close completely without hitting the bathroom drain pipes. Partially solved it by using spacer nuts and longer bolts. I did not check whether my axel is a high or low. Now assuming this is a low axel problem? Would a lift kit remedy this issue? If so who makes one you’d recommend? Thanks
A lift won’t change the jack touching the pipes. The frame will always be against the body of the Casita. Have you done the LHC Hepvo shower drain upgrade? That will most likely let you get the pipes around the offending jack.
Thanks. That was my next move.
Appreciate your thoughts
Hi Greg
Do you have the dimension for the plate placement from the rear bumper handy? I wanted to order plates from LHC which come with measurements but the cost to ship to Canada is cost prohibitive. I’ll make my own plates and have them welded on but don’t want to make a mistake with the jack placement.
Any help would be appreciated.
Regards,
Gary
I don’t have it on me. It’s been a year so I can’t remember for sure. I want to say 28″ from the rear bumper? See how that looks. It doesn’t need to be perfect, but definitely under the doubled up part of the frame.
Thanks Greg, good to know that it doesn’t have to be perfect. I’ll use the 28″ as a baseline and work from there.
Regards,
Gary