

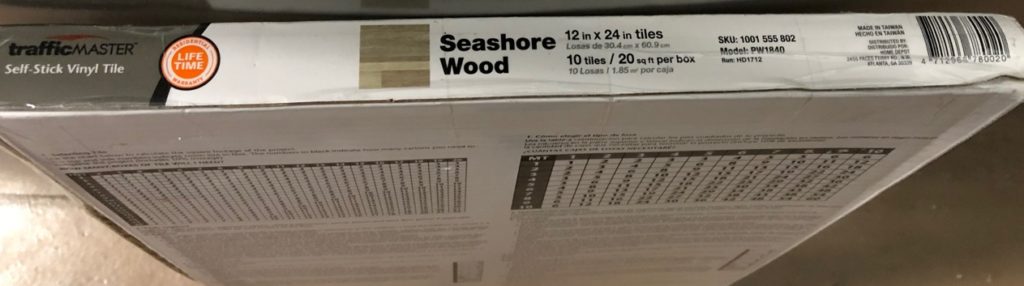
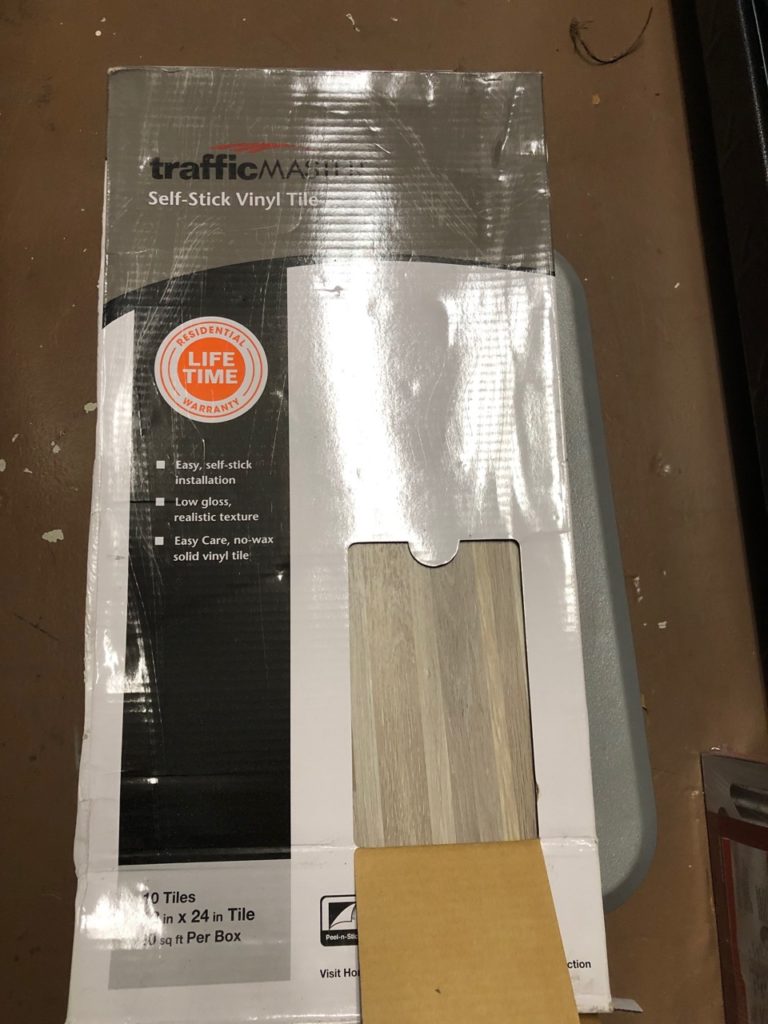
Our Casita thankfully came with the optional vinyl sheet flooring, but it was showing its age and had mystery rust stains. After some research, we settled on Traffic Master stick down 12×24″ tile from Lowe’s. They are thin, flexible and easily trimmed with scissors and a utility knife. The Casita floor is roughly 40 sq/ft. We used a little over 2 boxes, so buy 3.
For preparation, I drilled the rivets out of the door threshold and lifted it off. I removed the dinette post fittings, then cleaned the floor with rubbing alcohol and a rag.
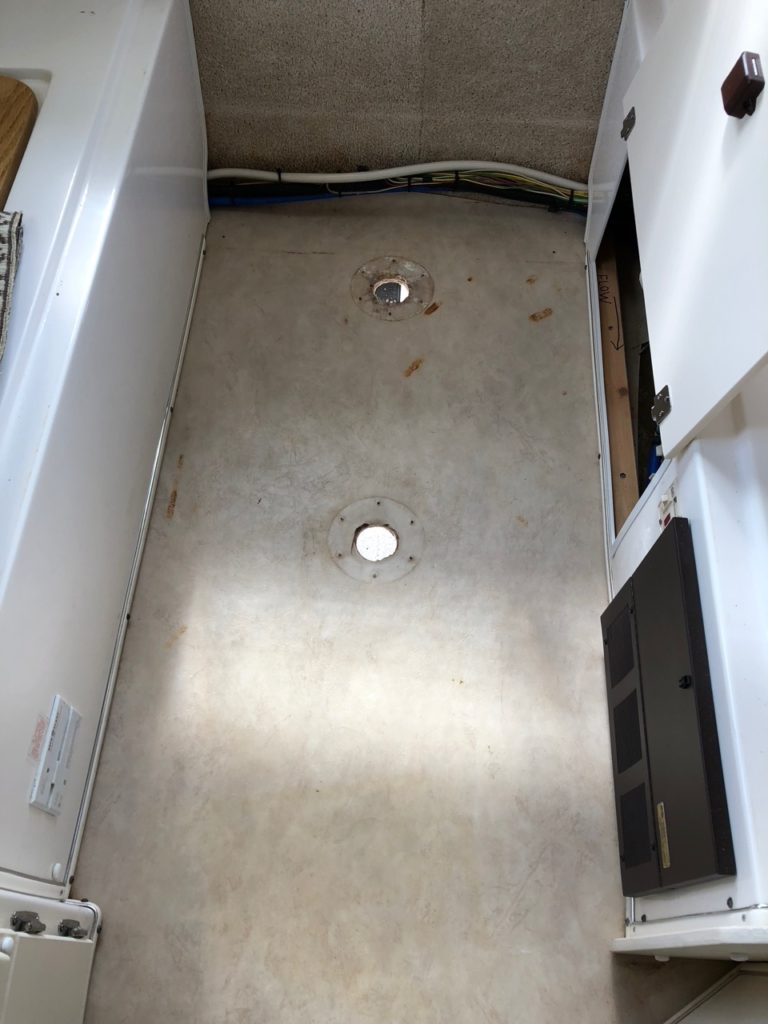
The old vinyl floor
I played with different layouts and decided running the tiles lengthwise would result is less trimming. I fitted one tile at a time by carefully trimming with scissors until I got the best fit, peeled the backing off, and stuck it down. In a few hours, I had the whole floor covered. I crawled under the Casita and cut out the holes for the floor fittings with a box cutter. I painted the fittings white, put sealant down and screwed them in place.
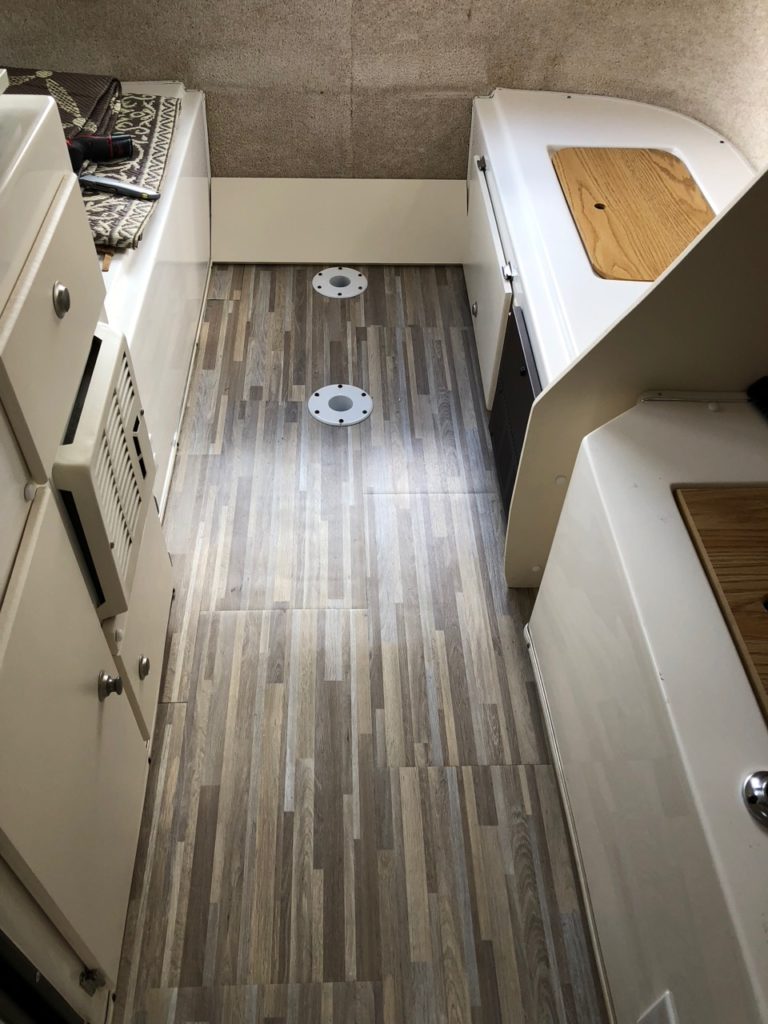
The finished floor
One issue I had was the door threshold rivets. There was no way to remove the old ones after drilling the heads off. I made a decision to drill the rivet holes all the way through the floor so the old ones could drop out and new rivets installed through the threshold. I used the same sealant from the dinette fittings to fill in the 4 little holes from under the trailer.
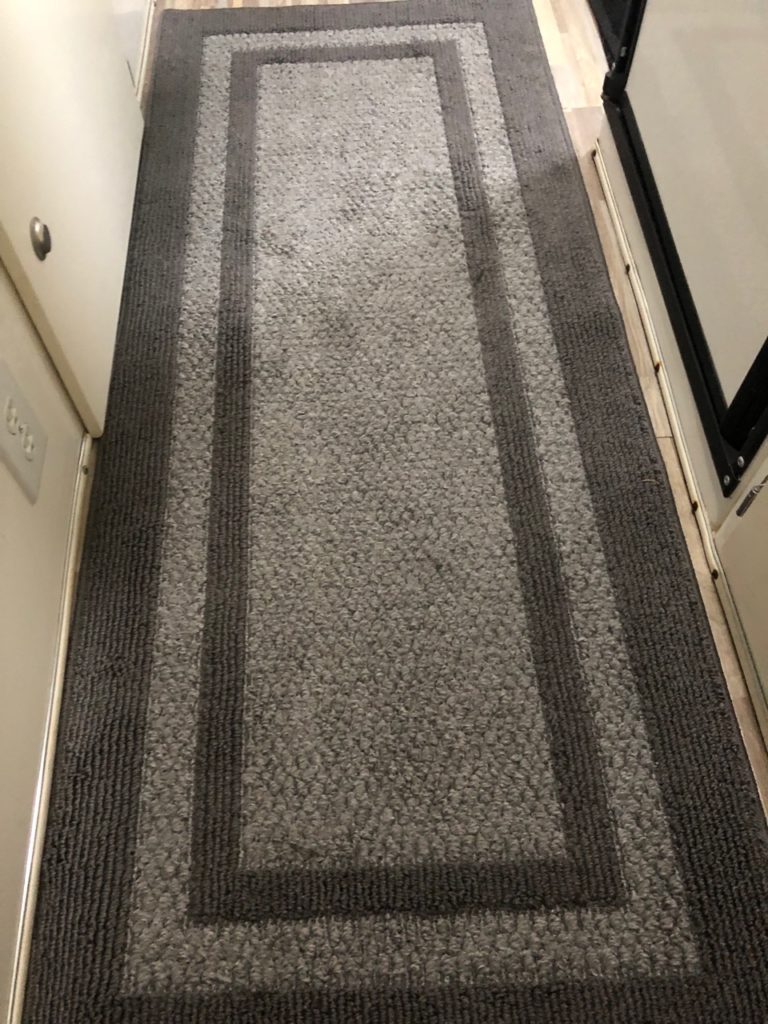
We put a carpet runner down over the floor and we can shake it outside which is easier than trying to vacuum. In the “foyer”, we keep a carpet welcome mat as well as one outside when camping.
We’re very happy how it turned out and it spruced up the interior.
17 comments
Looks great….very nice site you have here also !
Thank you! It’s a work in progress, we hope to add a whole lot more.
Did you have to pull up the old floor or were you able to lay the new floor on top of the old?
I was able to lay over the old vinyl after cleaning it.
What sealant did you use?
Sealant where? If you mean the table sockets, I used Geocel’s Proflex RV caulk. That stuff is great.
Did you remove the base trim or butt the vinyl up to it?
I left the trim and was able to tuck the vinyl under in most places. Where the trim was tight, I butted up to it. I did pull the door threshold in order to get the vinyl under it.
How did you reattach the door threshold?
I used new rivets.
Hey Greg, I have a question about removing the dinette post fittings. Are they just screwed into the floor or are they secured with a nut and bolt where I would need to crawl under the trailer? Is it pretty easy to remove them? Thanks! 🙂
They’re just screwed into the floor. There is sealant on the bottom so you may need to go under to cut it and push up on the fitting to pop it out.
Thank you!! 🙂
Newbie here. What do you do with the sealant and why is it used?
To reseal the dinette post sockets on the older Casitas they go through the floor and are open the road below. Newer ones are flush mounted and don’t need it.
I have a 2022 SD with the original table base legs on the floor. I’d like to replace them with the recessed mounts like you have. I understand that they need a 2.25″ diameter hole in the floor for installation. From your pictures, it looks like there is nothing under the holes cut in your floor to worry about. Is it as easy as unscrewing the old table bases, using a hole saw to cut the holes, screwing in the new recessed bases with sealant? If so, I’m going for it. It would make storage under my bed a lot easier.
This is what I was looking to use. https://www.amazon.com/Manufacturers-Select-SurFit-Table-System/dp/B07VW377KD?keywords=itc&qid=1699815523&sr=8-28&th=1&linkCode=sl1&tag=casitarvlife-20&linkId=709e6180aadd16634ab67250b001a71d&language=en_US&ref_=as_li_ss_tl
Any advice?
I believe that would work. Casita sealed the old ones that go all the way through the bottom with sealant. I’d recommend a tube of Geocel Proflex RV caulk. Also don’t use screws too long that will punch through the bottom fiberglass.