Casita modifications and upgrades.
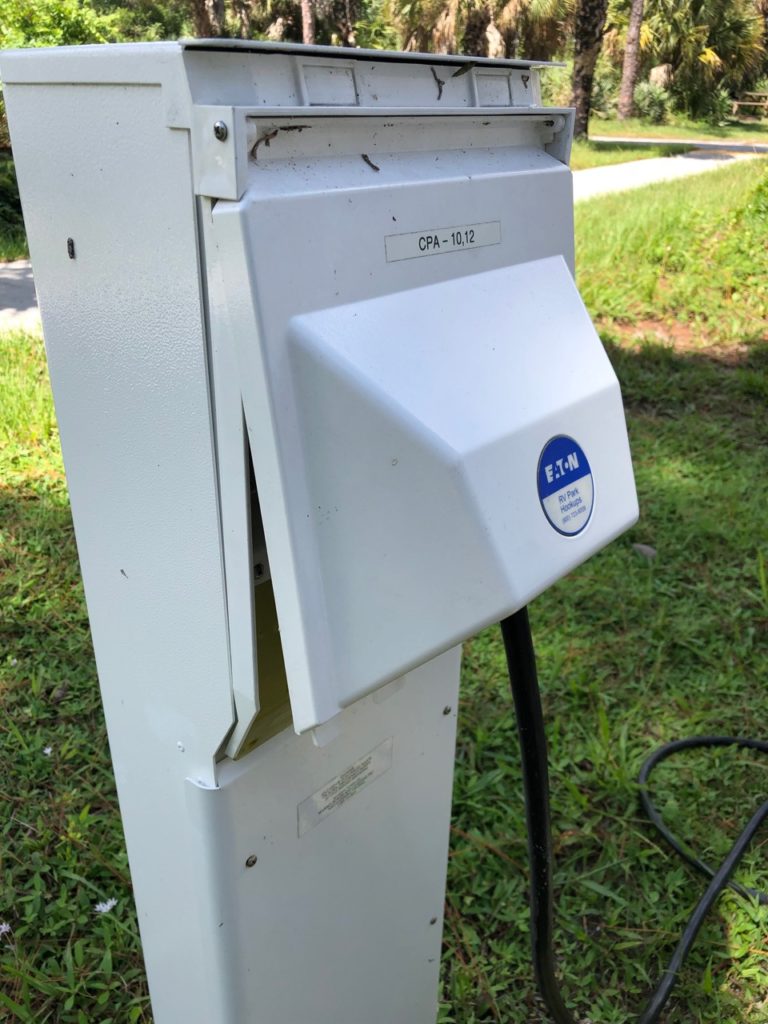
I was a Cub Scout as a kid and a Scout Leader as a dad. I always like to be prepared, and having a pair of electrical adapters is a great idea. The 15 amp to 30 amp adapter lets me plug in the Casita into a standard household outlet. This is important for charging the Casita battery and getting the fridge cold before a trip. Because a 15 amp circuit isn’t as robust as a 30, don’t try to run all your electrical at the same time since you’re limited to about 1800 watts total.
The 50 amp adapter gives me the option to plug the Casita if I end up on a RV spot that only has 50amp service. Or maybe the 30 amp outlet doesn’t work but the 50 amp does.
Surge Protection
A critical component to protect our Casita from power surges or incorrectly wired power outlets at a campground is a surge protector. I like the compact Camco (and similar versions) over the larger models that hang down, because it’s not visible with the power panel door covering it, so it’s less likely to get stolen. LED’s show if the circuit has the correct polarity and is safely grounded before hooking up the Casita to power. The only downside to these affordable surge protectors is they are a one shot deal. If it takes a surge, it burns out. The resettable protectors cost hundreds of dollars, so I can buy a few of these and still break even.
I keep both adaptors and the surge protector in the space where the power cable stores. It’s easy to reach in and I can grab them whenever needed. They’re cheap and could save a trip!


Another great item to have is a battery monitor for camping without electrical hookups. It’s a “fuel gauge” for the battery. We leave ours plugged in most of the time. Using a battery voltage chart you can see your battery level. Hint: 12.0 volts is about 50% capacity which is “low”. Going below 12.0 volts will permanently damage your battery.
